I have two favorite chocolate bars in this world: Nestle Butterfingers (which I assume you all know about) and Cadbury Crunchies (chocolate covered honeycomb from the UK)! I don’t think I could ever choose if you made me pick one! Seriously. Both flakey, melt-in-your-mouth bars are encased in luscious milk chocolate and each bite is like a little piece of heaven. I’m still working on my recipe for the perfect Butterfinger but months ago, my sister (the pastry chef) called me when she happened upon a recipe that tasted just like a Crunchie chocolate bar. I don’t know why I didn’t jump at the opportunity to make the candy right there and then, but I somehow put it on the back-burner and forgot all about it. What was I thinking?!? So when I found out that this months Kosher Connection link-up was all about honey, my mind automatically jumped right to this perfect honeycomb candy dipped in chocolate. The time had come to try out the recipe and hopefully devour it. And boy did I devour!
Homemade Crunchies
slightly adapted from seattlest.com
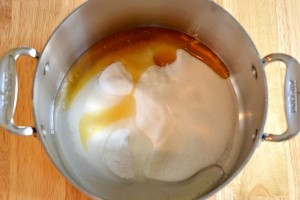
I combined the honey, corn syrup, sugar and water in a large deep pot and stirred until there were no dry patches in the sugar. Please use a deep pot for this recipe since the sugar mixture will triple in size during the cooking process later on. At this point, I also lined a baking sheet with parchment paper and measured out the baking soda in to a small bowl since I would need to pour it all in to the caramelized sugar all at once. Always good to be prepared!
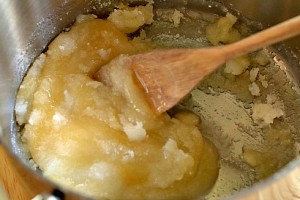
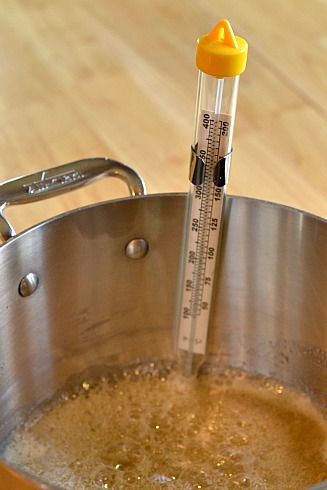
I placed a candy thermometer in the sugar mixture and put the pot on high heat. You don’t technically need the thermometer but I always recommend it when working with very high temperatures. Please do not touch the mixture at this point! If you try mixing it, the sugar might seize up and you will be left with a crystallized mess. So just leave it alone, but stay close by. The mixture will melt and begin to bubble very quickly.
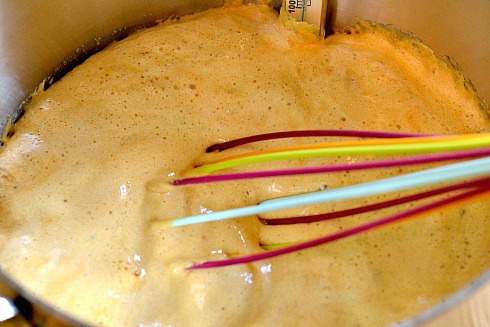
When the sugar mixture was an amber color and the candy thermometer reached a temperature of exactly 300 degrees F, which took only 5 minutes, I took the pot off the stove and immediately added the baking soda. I whisked vigorously until well combined. Please note that while you are whisking, the mixture is going to triple in size and become a very hot foam. Please be careful not to get your fingers near that mixture or you will burn yourself.
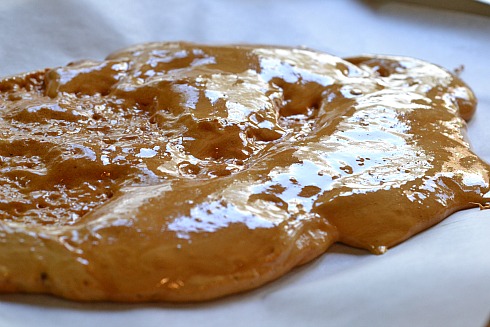
I gently poured the foam mixture on to the baking sheet. I thought I was supposed to spread the mixture but I was very wrong about that…so don’t try to spread it yourself. It will spread slightly and find its own shape. You want it to be fluffy and un-touched as it cools. I let the mixture cool for 2 hours. If you are impatient, you can wait only 1 hour but nothing less than that. You want the candy to cool completely or it will get mushy. What you CAN do is break off little pieces from the ends and snack on those.
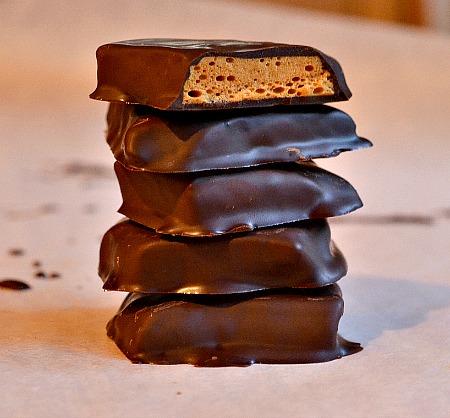
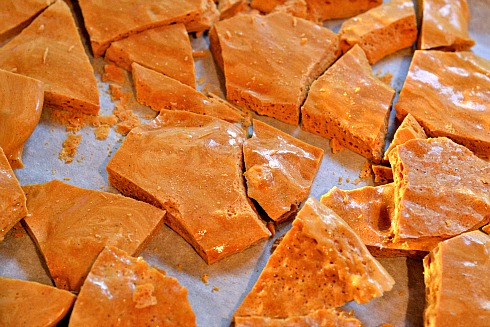
Once the candy cooled, I broke it in to pieces, just like I would with a brittle. I broke the pieces in to all shapes and sizes. Just look at those air bubbles in the center of the candy! A masterpiece.
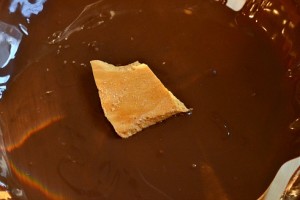
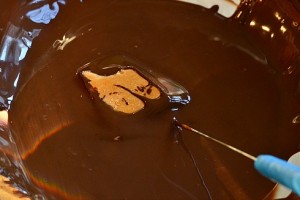
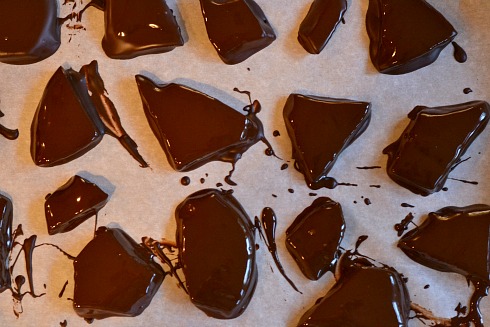
I melted the chocolate in the microwave in 30 second increments until melted, which took around a minute and a half, then dipped the honey comb candy to coat completely. You don’t have to coat the candy in chocolate but you must store it in an airtight container or it will begin to soften from the moisture in the air within a matter of just hours!
I placed the chocolate dipped honeycomb back on to the parchment lined baking sheet and placed in the fridge for 10 minutes to set.
Then came the most important part of the process: EATING! With just one bite of this homemade honeycomb chocolate bar, I was already melting. Memories of trips to Canada came back in waves; driving to the fishing lodge, buying a handful of Crunchie bars and eating them all before we even got to our location. Every bite tastes like a mixture of honey, toffee, toasted marshmallows, burnt sugar and rich chocolate. Yes, you can taste all of those things in each bite while the candy just melts in your mouth. And it couldn’t be any easier. Just 10 minutes on the stove. All you need is some patience while the candy cools. But you can handle that, right?!?
Kitchen Tested
Ingredients
Instructions


 Save Recipe
