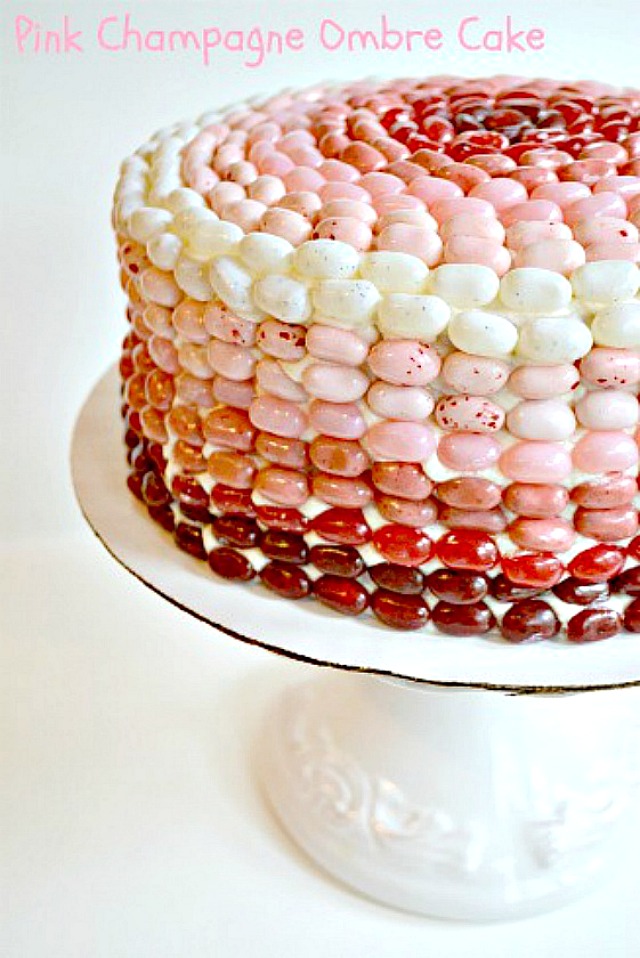
Happy 29th birthday to me! I decided last year that I would start making my own birthday cake and I’m so happy with that decision. Sure, someone could make a cake for me but where’s the fun and challenge in that? And my Rainbow Layer Birthday Cake for my 28th birthday is still my most popular post on Kitchen Tested. Can you believe it?!? So how could I top such a bright and exciting cake??? One word. Champagne! Need I say more? Okay, two more words. Jelly Belly. Now I’m done talking. Let’s get down to business.
Pink Champagne Cake
cake and frosting slightly adapted from Cake Fixation (why mess with perfection, right?)
2 1/2 cups cake flour
1 1/4 tsp baking powder
1/4 tsp baking soda
3/4 tsp salt
2 1/4 cups sugar
10 Tbsp unsalted butter/margarine, melted and cooled slightly
1 cup pink champagne, flattened (stir to release bubbles)
3 Tbsp vegetable oil
2 tsp vanilla extract
6 egg yolks, room temperature
3 egg whites, room temperature
pink food coloring
Champagne Buttercream
1/2 cup margarine/butter, room temperature
1/2 cup shortening
1 lb powdered sugar
1/2 tsp vanilla extract
1/4 tsp salt
1/4 cup pink champagne, flattened
Raspberry filling or preserves
And don’t forget to buy lots and lots of Jelly Belly jelly beans! Around 600 (45 per row + the top), to be exact. It could be a little less, but better to have extra on hand to snacking. Just chose your color. I obviously went with pink and decided, based on recommendations from fans on Facebook, to go with a ombre design. Ombre is a graduation of color from light to dark and I thought it would look really beautiful on my special birthday cake. So here we go…
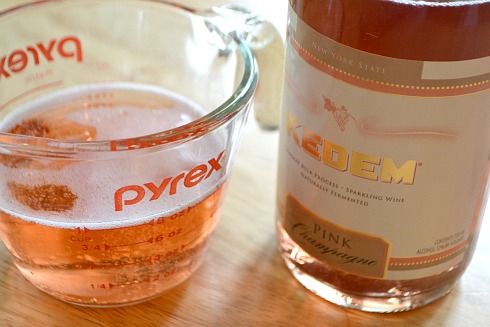
I preheated the oven to 340 degrees F. I greased three 8″ round cake pans, lined with parchment paper and set aside. I sifted together (I never ever sift but I really wanted to make sure this cake was perfect) the flour, baking powder, baking soda, salt and 2 cups of sugar. Separately, I stirred 1 cup of pink champagne in a measuring cup to get rid of the bubbles. I had to stir a few times before all of the bubbles were gone. In a medium bowl, I whisked together the margarine (I wanted to make a non dairy cake), champagne, oil, vanilla and egg yolks.
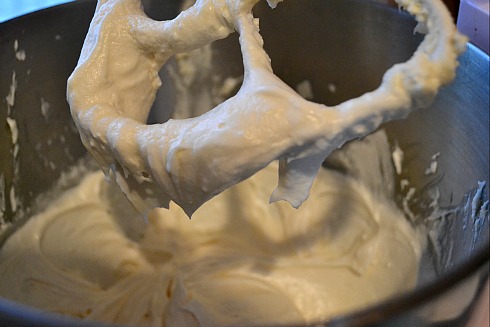
In my stand mixer, I whisked the egg whites on medium speed until foamy, around 30 seconds. With the machine running, I slowly added 1/4 cup sugar and continued beating the whites until stiff peaks formed. I set the bowl aside.
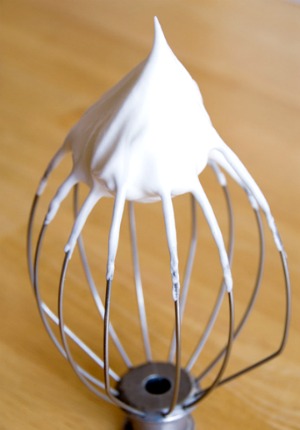 Since I forgot to take my own picture of the whites at stiff peak, check out this fantastic picture.
Original image here.
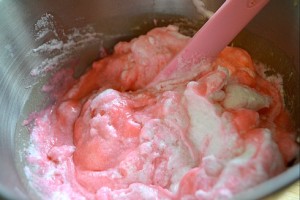
In another bowl in my stand mixer, Â I added the flour mixture and with the mixer running on low-speed, I gradually poured in the margarine mixture and whisked until mostly incorporated, around 15 seconds. If you only have one bowl for your stand mixer, just move the egg whites to a separate bowl so you can reuse it. I scraped down the sides of the bowl then returned the speed to medium and beat until smooth. I added 1/8 tsp of pink gel food coloring and stirred to combine. Use as much or as little food coloring as you want to reach your desired shade. I carefully folded in the egg whites so they wouldn’t lose their fluff then I poured the batter in to the pans.
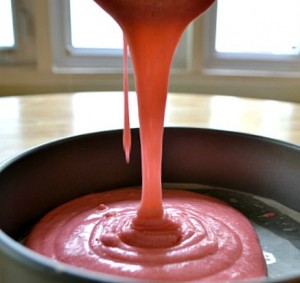
I baked the cakes for 35 minutes then gave time to cool before stacking the cakes. While the cake was cooling, I made the delicious and easy buttercream. I creamed together the margarine and shortening with a paddle attachment then slowly added the powdered sugar while the mixer was running on low. Once incorporated, I added the vanilla, salt and flat pink champagne then mixed on medium until the buttercream was smooth and fluffy.
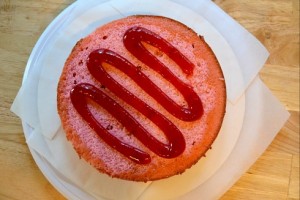
I sliced off the very top of each cake to even them out, which made it easier to stack. On top of the first layer of cake, I spread on pre-made raspberry filling, placed the next layer on top and spread on more filling. For the top layer, I turned over the cake so the flat bottom was now the top. This made for a more even cake. I spread on a thin layer of the buttercream, called a crumb coat, to smooth out the cakes and cover any loose crumbs. I refrigerated the cake for 30 minutes then added another layer of the buttercream all around the cake. It doesn’t have to be perfect because it will all get covered soon enough with the jelly beans.Â
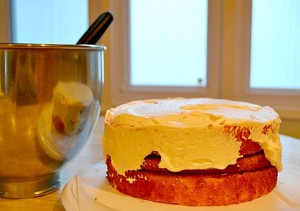
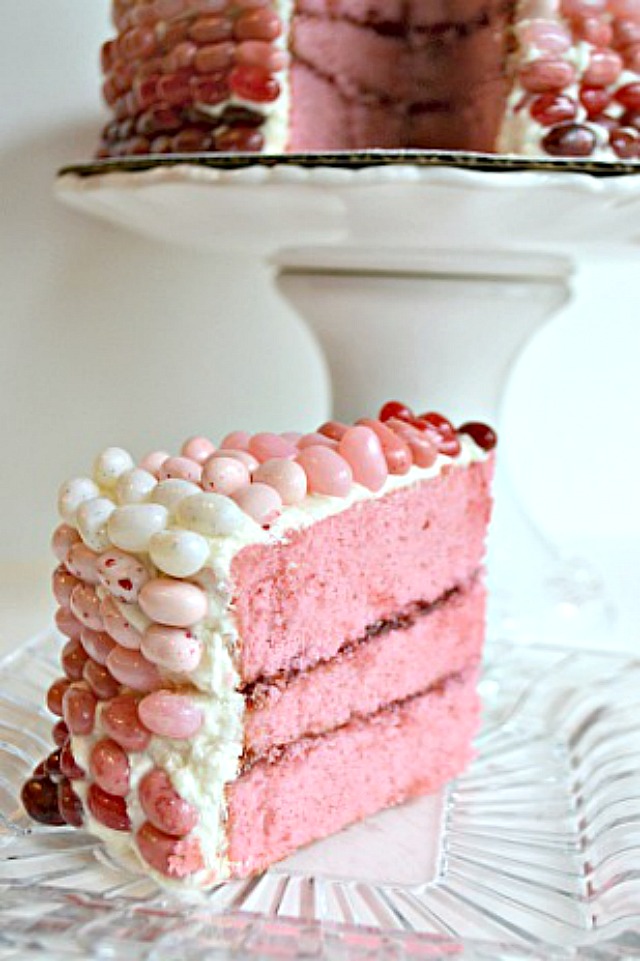
I refrigerated the cake again for 30 minutes so the buttercream could set again and harden up just a bit then I began layering on the Jelly Bellies! I started with a small sample of jelly beans to decided if I liked the way it looked. Once I was happy with the design of the layers, I followed the pattern all around the cake. This part of the process took a while but it was totally worth it!
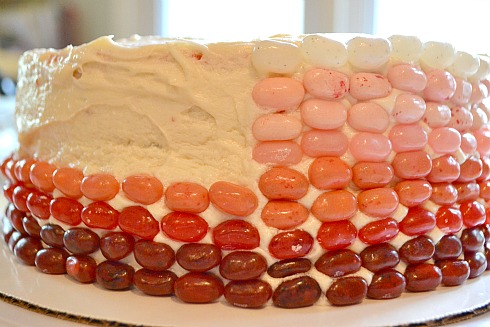
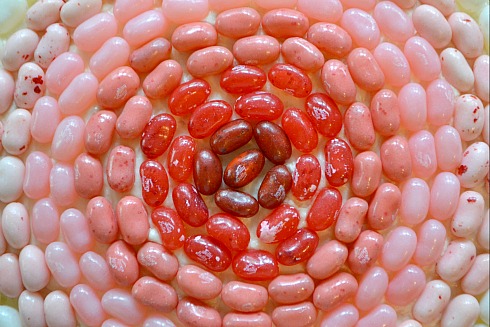
When I got to the top of the cake, I turned the pattern around and started with white around the edges and graduated to the darkest Jelly belly in the center.
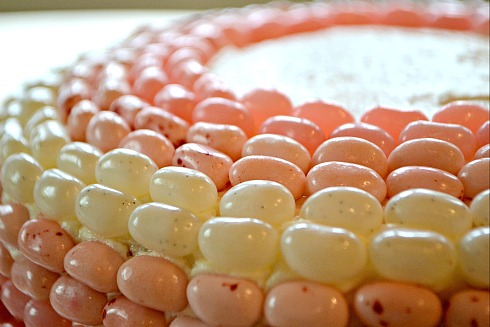
So much fun, right?!?!
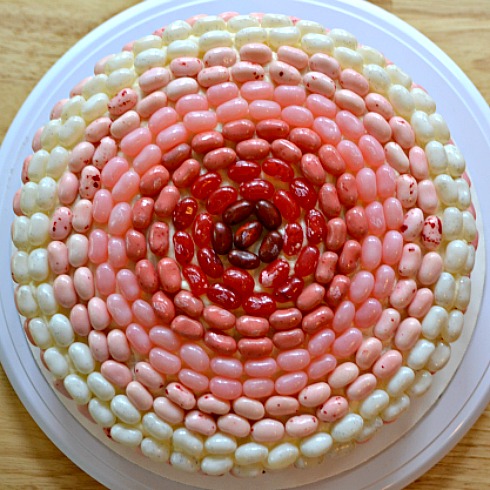
Next came the first slice! This cake has the perfect light and fluffy texture from the cake flour and beaten egg whites. I don’t think I can go back to all-purpose flour for cakes! The flavor of the pink champagne is perfectly subtle and the raspberry filling is a sweet and delicious compliment. And what can I say about the Jelly Bellies? Yum! Does that cover it?
slightly adapted from cakefixation.blogspot.com
Ingredients
Instructions

 Save Recipe
