It all happened so fast! I was on Facebook stalking my friends and fellow food bloggers when I started to see an unfamiliar trend all over my friends pages. Challah shaped like keys popping up everywhere! I asked around and found out that my Jewish friends were making something called ‘Shlissel Challah.’ After a bit of research and a lot of Google searches, I learned this ‘key bread’ is a custom of many Ashkenazi women (Jews with family roots in countries of Europe and Asia) to place a key inside the dough of a loaf of challah or shape the dough like a key the weekend after Passover. The key challah is supposed to bring “segulah for parnassah” or a blessing to their home. Why right after Passover? On the high-holidays, we ask G-d to open the gates of heaven for our prayers and on Passover, we ask G-d to recall how He opened the gates for the entire nation of Israel in the days after the Jews left Egypt and were welcomed in to the “promised land.” When the challah is made to represent a key, we are asking for the key to unlock the gates for us as well. I think this tradition is so beautiful and as an Ashkenazi Jew myself, I decided it was time to take on this tradition for my family. Using my own delicious and simple challah recipe, which I make in a stand mixer, I played around with different key shapes and came up with something quite beautiful! I think I’m going to start making challah in different shapes more often. So much fun!
Click here and here for more information on the history of Shlissel Challah (two great sites with tons of wonderful history and I couldn’t decide which one to share with you, so you get both).
My Challah Recipe
1 cup warm water
1 1/2 Tbsp yeast
1/2 cup sugar
1/4 cup oil
2 eggs
1 tsp vanilla
4 cups bread flour
1/2 Tbsp salt
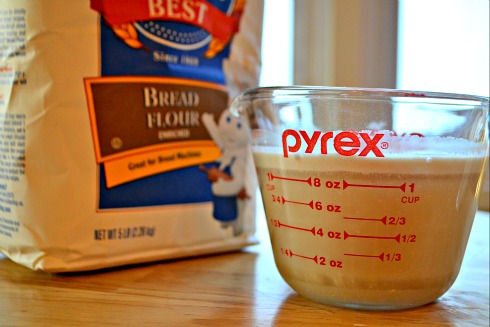
I placed the warm water in a measuring cup and added the yeast. I lightly stirred just to combine, left the yeast for 1 minute then added 1/4 cup of sugar. A few tips to make sure your yeast rises correctly: 1. Make sure the water isn’t too hot or too cold. Warm means warm! 2. After you lightly stir the yeast in to the water, don’t touch it. Yeast is actually alive and very sensitive so you want to just let it do its thing. 3. When the yeast has risen, it will look like foam on top of a cup of coffee or a beer.
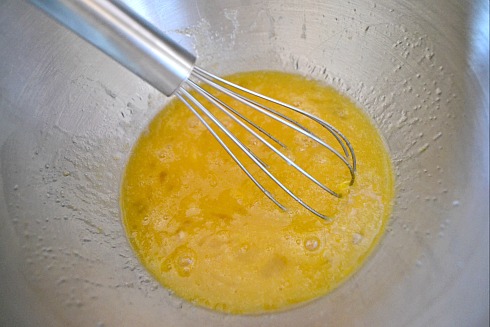
While the yeast had a chance to rise for 5 minutes, I whisked together 1/4 cup sugar, oil, eggs and vanilla in a stand mixer.
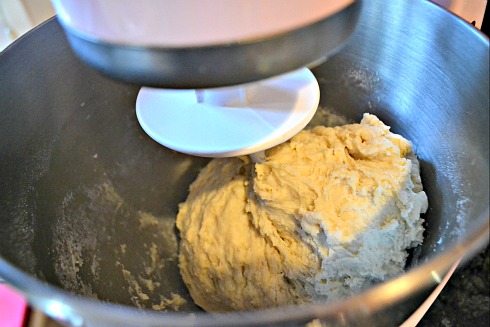
When the yeast had a nice thick foam, I poured it in to the egg mixture and whisked together. I then added the flour and salt and kneaded with a dough hook for 5 minutes.
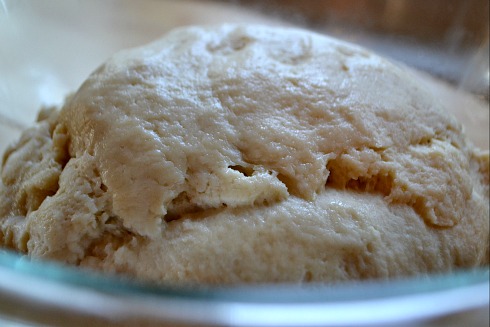
I placed the dough in bowl prepared with cooking spray so it wouldn’t stick and covered with a towel. I placed the bowl in a warm spot (usually my microwave) and let it rise for 1 1/2 hours.
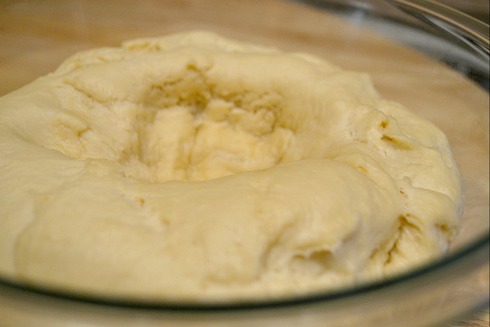
After the long wait, I checked on the dough, which had risen beautifully and then I punched it down! I love that part. Just a few punches in the center and around the sides then back in the warm spot to rise for another hour. You’ll see by lighting in my pictures that it was dark outside by the time the dough was ready for baking. That’s what I get for starting my challah dough so late in the day but I didn’t even know I was going to bake anything until maybe 10 minutes before! I love spontaneous baking moments.
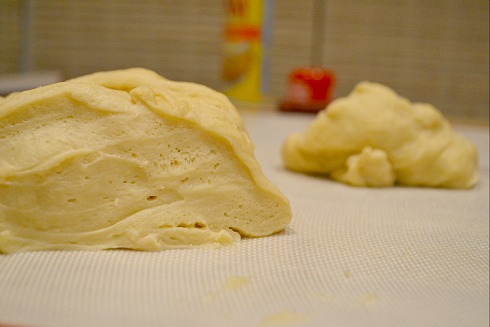
I took the dough out of the bowl and placed it on a surface prepared with cooking spray. I find that it’s easier to work with challah dough on a lightly oiled surface. And then experimenting began! I Â started slicing the dough with a sharp knife to see how many keys I could make. If you are planning to add anything extra to your challah, like chocolate chips, raisins or sprinkles, now is the time. I kept mine plain but I love adding chocolate chips! Messy but delicious. You would just sprinkle the dough with your topping and lightly knead it. Then the shapes can begin!
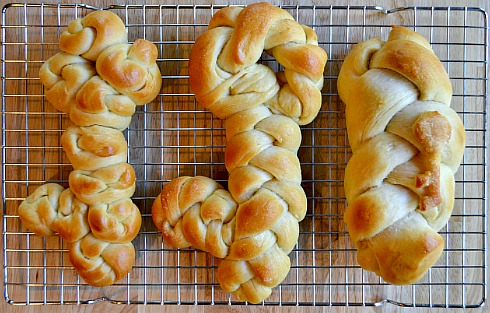
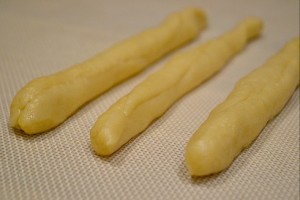
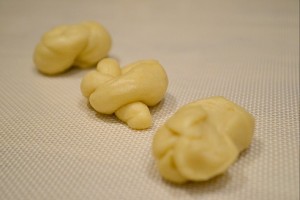
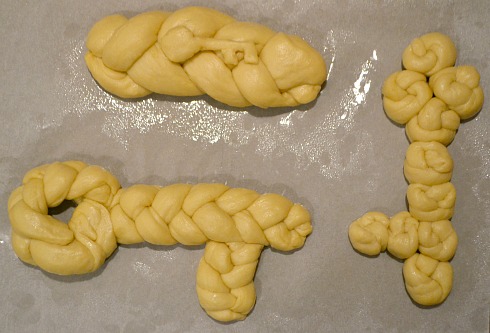
I first braided some dough and made my first key with three different braids. One was a straight traditional braid for the key neck. Next came a long braid connected at both ends to create the key handle. Last was a little braid for the teeth. I then decided to make a pull-apart key using rolls of challah. For that, I rolled out long snakes of dough and make cute little knots.
I stuck them together to create the key shape. And last came the traditional braided challah with a key-shaped dough cut out on top.
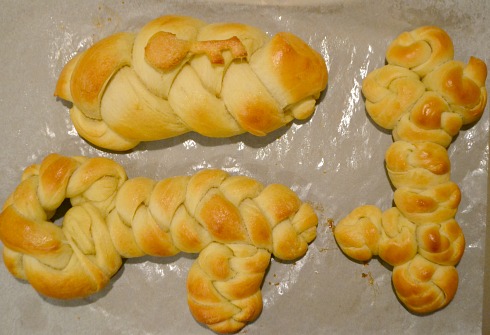
I brushed the tops of the challah with egg, sprinkled some vanilla sugar over the tops and baked for 25-30 minutes at 350 degrees. The tops and bottoms were lightly golden brown when done. I let the baked challah sit on the baking sheet for 10 minutes to set before moving to a cooling rack, ensuring that the keys would not fall apart.
Here’s hoping I’ve brought segulah for parnassah to my home with this beautiful key challah. Either way, it was fun to make.
Kitchen Tested
Yields 8-10
3 hours 30 sPrep Time
30 minsCook Time
Ingredients
Instructions
 Save Recipe
