Well, it’s happened! Kitchen Tested has officially been in existence for 6 years. 6 YEARS!!! And I can’t believe how much has changed in 6 years. And I’m not just talking about my cooking style, my photography, my friendships, my voice as a blogger…I’m talking about social media too. When I first started my blog 6 years ago, Facebook was my main source of marketing. I posted all of my new recipes, shared them with friends and somehow, everyone following me on Facebook was able to actually see my recipes. So I grew. My blog got more followers and I continued on with this process as more and more people got to know me through my recipes and stories. And then things began to change and I learned to go along for the ride. To keep a long story short, we are in the age of Instagram and the stories that come along with it. As you all know, I am a bit obsessed with “Insta-Stories” and I post every day about my life, my children, my dog (yeah, a lot about my dog) and especially my food. I have been able to reach out to you in the most incredible way and now I get to have conversations with so many people who have been following me for years. I love that I get to know you, your favorite recipes, your ups and your downs and I get to share all of that with you too.
Okay, I know I just got totally sappy and that’s not really my thing but I just feel like we hit a really cool point where I can actually talk to my readers and you get to talk back. So talk to me, tell me your favorite recipes on KT, the ones you don’t like and what you would like me to make in the future. I’m ready for it!!!

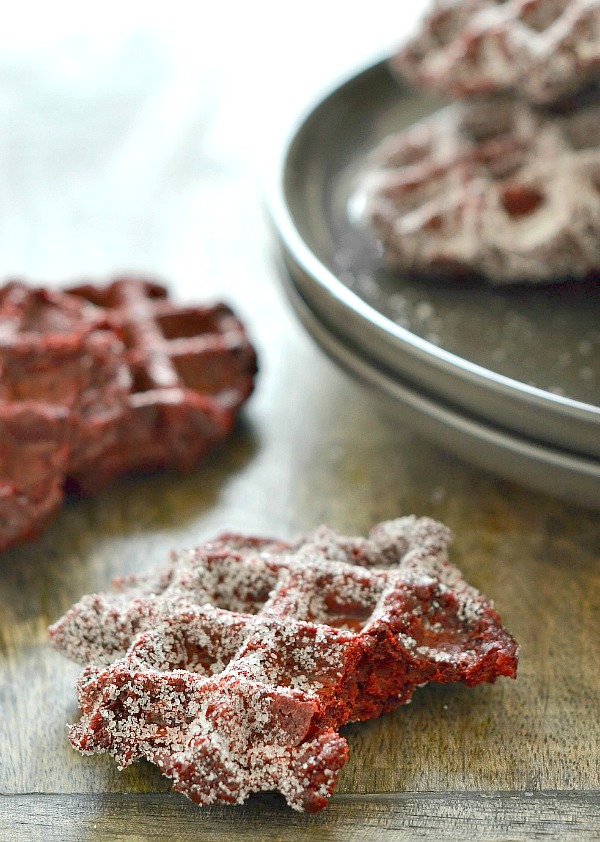
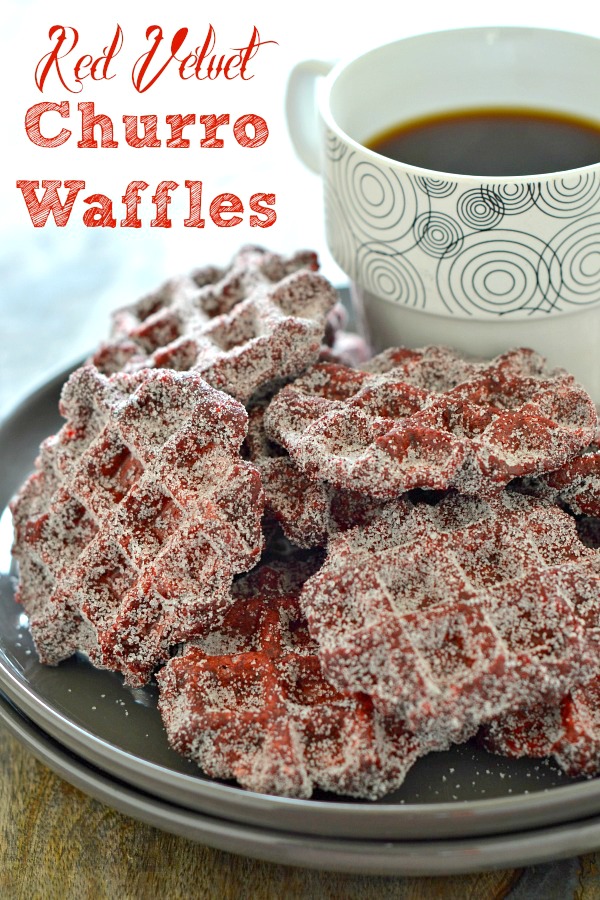
I’m yammering on and on and I didn’t even get to the recipe yet! Every year for my blogiversary, I make something with red velvet so, of course, that tradition must continue. I’ve made a very strange recipe (red velvet fish n’ chips), a recipe that challenged me (red velvet croquembouche), a recipe that brought back memories of my Savtah (classic red velvet cake), a very special gluten free recipe (red velvet cookie dough ice cream) and one that I still talk about to this day because it was so dang good (red velvet chicken and waffles). So where to go this year??? Back to waffles, of course. Red velvet churro waffles, to be specific. An egg-free pate a choux dough with cocoa powder and red velvet food coloring to mimic a class red velvet cake. Cooked in a waffle iron (the exact same iron I used to make the red velvet chicken and waffles from my 1st blogiversary in 2012!!!) so the outside is crispy and the inside is still a bit soft, just like a churro. Add in the crunchy sugar coating and you’ve got yourself a bonafide churro. On to another year of happy blogging and now I have a whole year to think about red velvet for 2018. Phew!
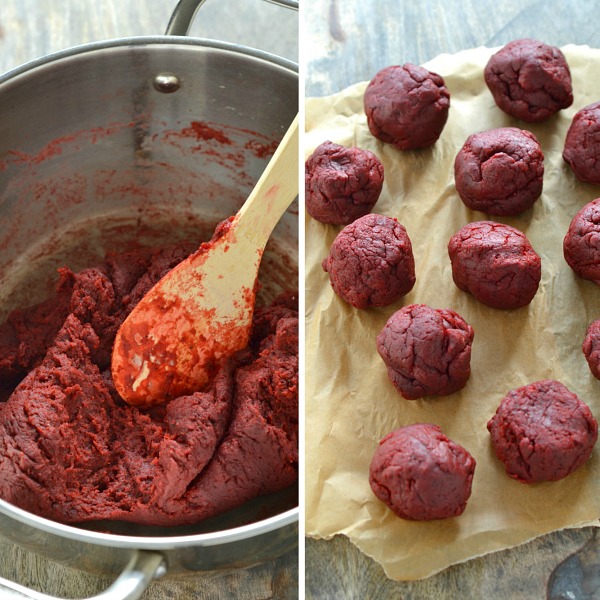
I love this recipe because the batter take around 5 minutes to make. It’s pretty hard to ruin a pate a choux, actually. Just don’t leave it on the stove for too long and you are good to go.
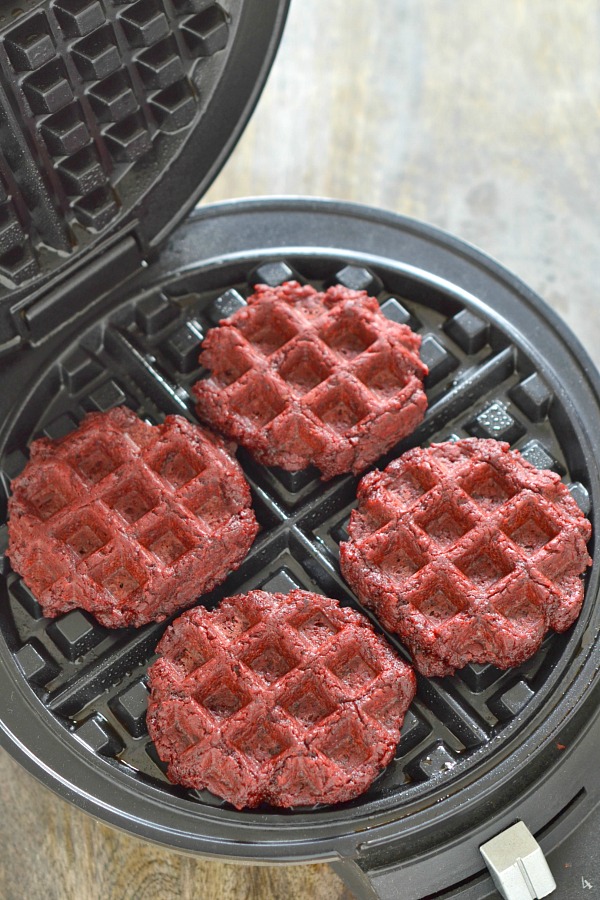
How cute are these churros in a waffle iron?!? No messy oil, no frying and yet you still get that classic churro texture. Crunchy on the outside, like velvet on the inside.
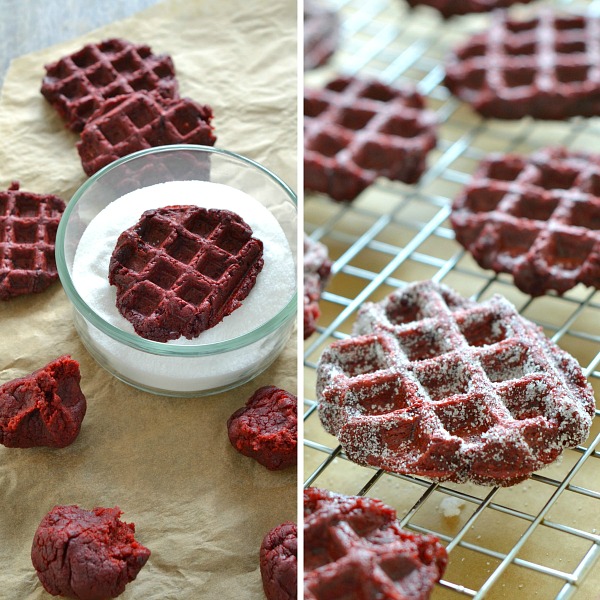
You can even freeze these waffles without the sugar and toast a few whenever you’re in the mood. Let’s just say that my son has been eating a lot of red velvet churro waffles…
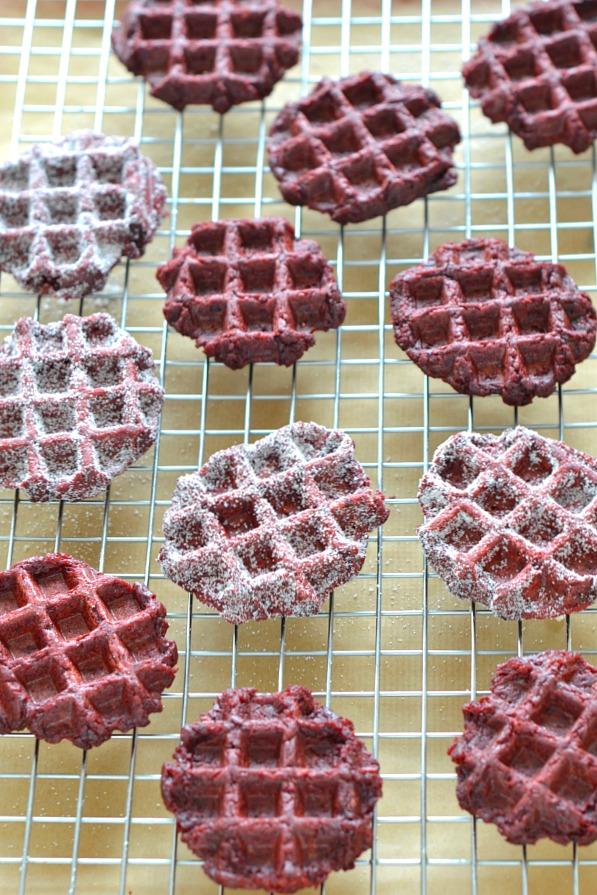
Red Velvet Churro Waffles
Ingredients
- 2 cups water
- 6 Tbsp vegetable oil
- 4 Tbsp sugar
- 2 tsp red food coloring
- 1 tsp salt
- 2 cups all purpose flour
- 3 Tbsp unsweetened cocoa powder
Topping
- 1 cup sugar
Instructions
- In a medium pot, whisk together the water, oil, sugar, red food coloring and salt. Bring the mixture to a boil over medium heat. Remove the pot from the heat, add the flour and cocoa powder then stir with a wooden spoon until completely combined and no more flour is visible. Return the pot to the stove over low heat and stir vigorously for 1 minute with the wooden spoon, until a ball is formed.
- Remove the ball of dough (called pate a choux) from the pot and cool for 5-10 minutes, until easy to handle by hand. Separate the dough into 8 pieces and then separate each of those pieces in half until you have 16 balls of dough.
- Heat your waffle iron according to package directions (over medium heat, if you have that option) and grease the iron lightly with cooking spray. Cook waffles for 4-5 minutes, until the outside is crunchy but the inside is still a bit soft. Remove from the waffle iron and place on a cooling rack for a few minutes before dipping both sides into a bowl of sugar to coat. Repeat with all remaining waffles.
- Cooks note: if you would like to make these waffles in advance, freeze without the sugar coating. Then toast before serving and dip fresh in the sugar.
