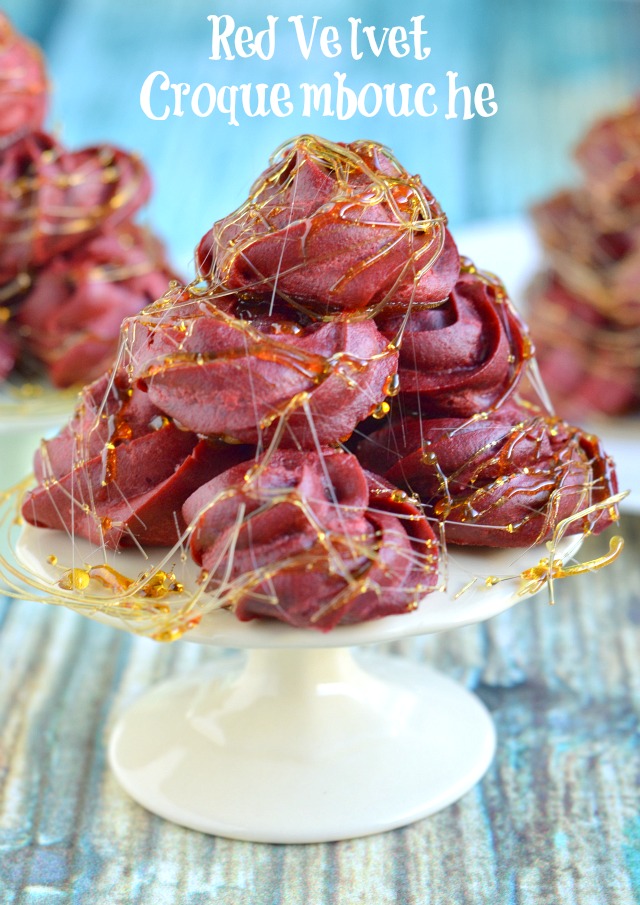
5 YEARS! I have been a food blogger for 5 years! I keep saying it out loud but I still can’t believe it. What started out as a hobby has become a full time job and I am celebrating every second of it. And I am no longer just a food blogger…I’m a food photographer, a writer, a recipe developer and I run a successful conference for kosher food bloggers. My passion is food and somehow I have turned that into a career. How did that even happen?!? I mentioned celebrating and that’s what this post is all about! Every year for my “blogiversary” (or blogoversary, I just don’t know how to spell it since it’s a made up word), I create a new recipe using red velvet because that is my ultimate comfort food (you can see why here and here) and this year I went all in. I mean, I go all in with every post but this Red Velvet Croquembouche goes above and beyond the call of duty. A croquembouche is a French dessert made with cream puffs, pastry cream and caramel. The cream puffs are piled up into a sweet tower of deliciousness and wrapped in a layer of beautiful shiny caramel. In French, the word ‘croquembouche’ literally means to ‘crunch in the mouth’ and that is what happens when you take your first cream puff off the tower. The crunchy spun sugar caramel is the first texture you get and then comes the fluffy cream puff and luscious vanilla pastry cream. Since making a croquembouche can be very intimidating, I not only created adorable mini croquembouche that are much easier to stack but I also included very clear step by step pictures of the entire process so you can get it right the first time. I burned the first batch of caramel so you don’t have to. Have fun and try something new!
Making a pate a choux can be done in 4 steps: blend dough on stove, beat dough to let steam out, add eggs one at a time then pipe onto baking sheet. You will definitely be washing some dishes when this is all over but it’s so worth it!
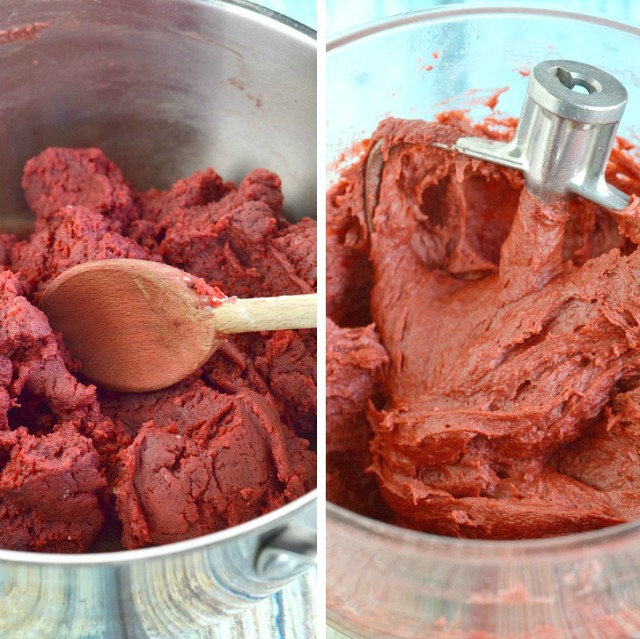
That color!
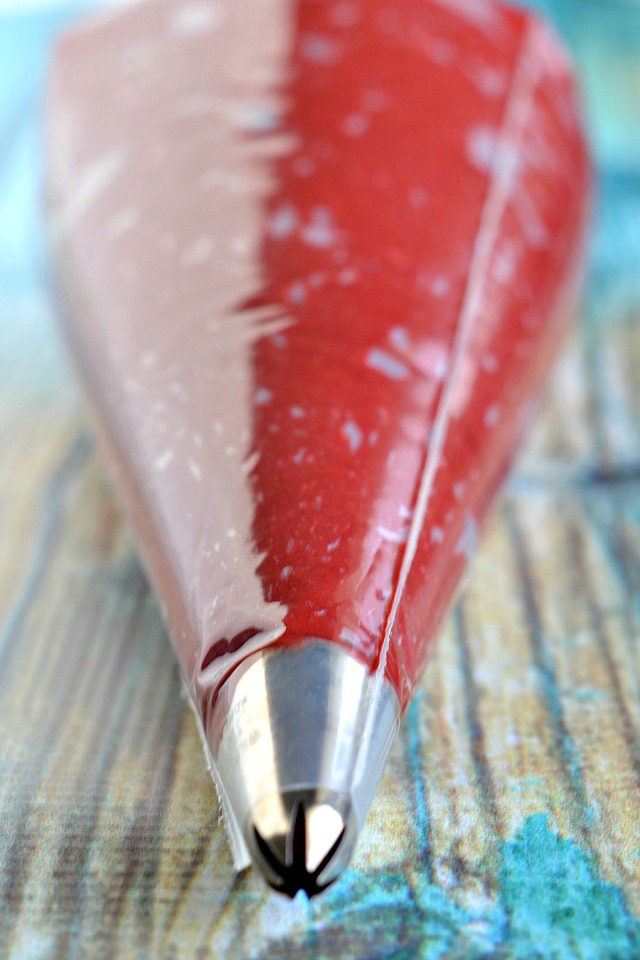
You can use any piping tip you want for these cream puffs or you can even just use a ziploc bag with the tip cut off. They puff up when they bake so have fun with your piping and shapes. You can even do hearts and stars.
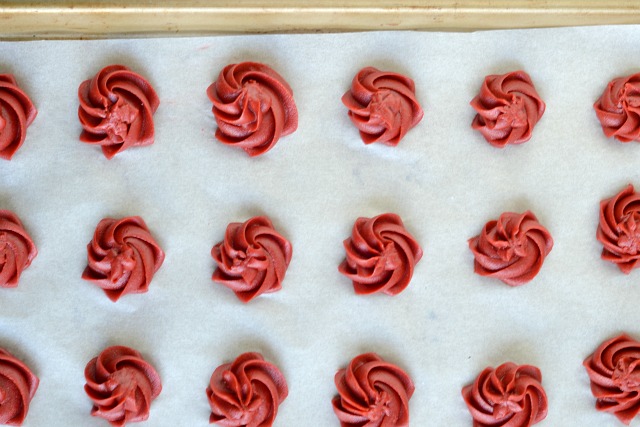
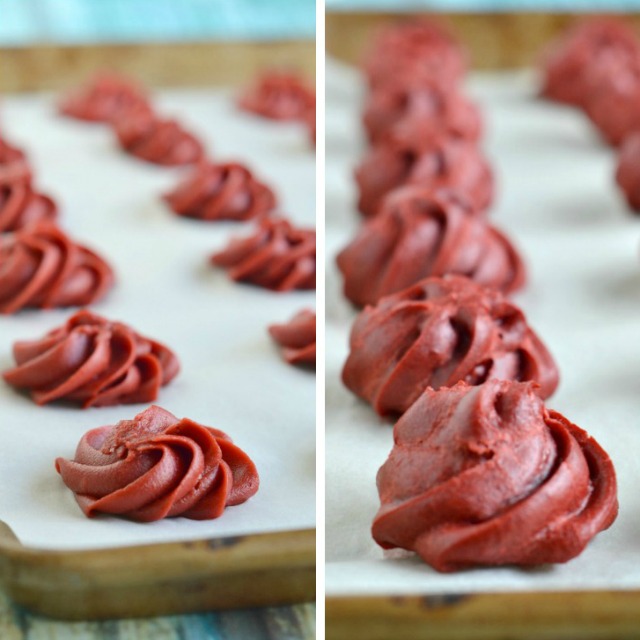
Oh, how they puff up! Nice and hollow inside, just waiting for that pastry cream.
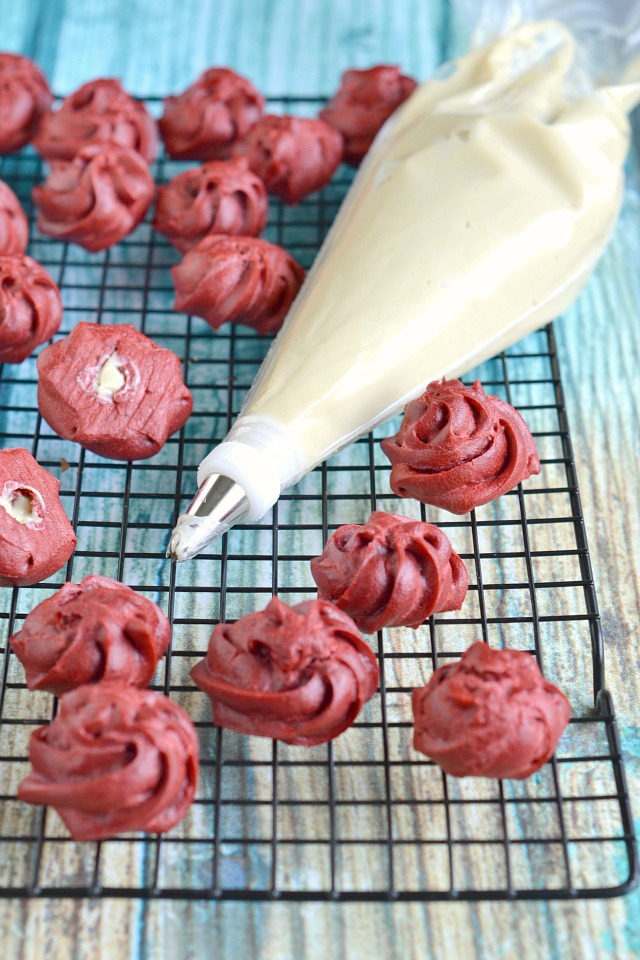
Again with the piping tip, right?!? This time, the piping tip is important because it’s how you will poke a hole in the bottom of those cream puffs. Be gentle when you fill them or the pastry cream will explode right out the top…trust me, it happened to me quite a few times and I ate those “mistakes” right up.
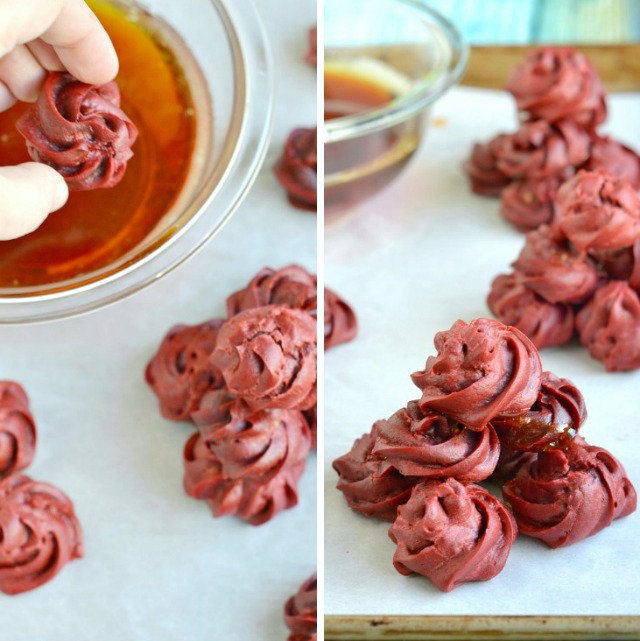
When the cream puffs are all full, you can start on that easy hard-crack caramel to hold those cream puffs together and drizzle over the top. That means you are heating up the sugar until it is so hot, it hardens into a shell. This recipe takes 25 minutes to cook up and it will stay hot enough to dip all of your cream puffs before it hardens up in the bowl. Just please, whatever you do, don’t touch the caramel or you WILL burn yourself!
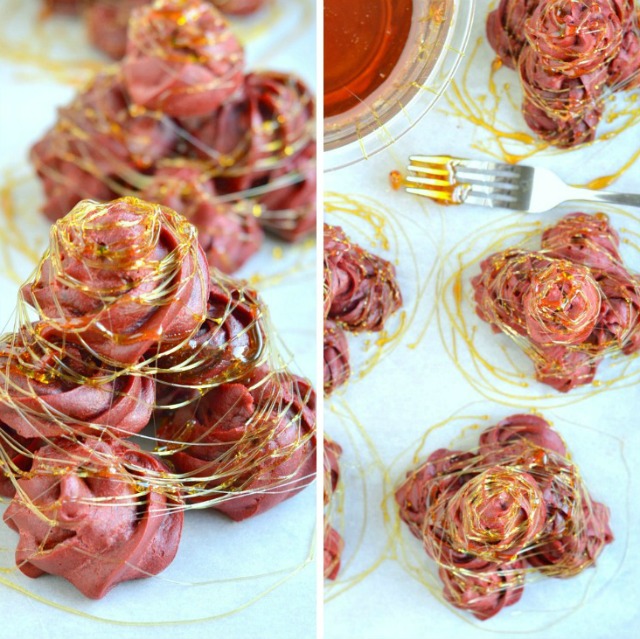
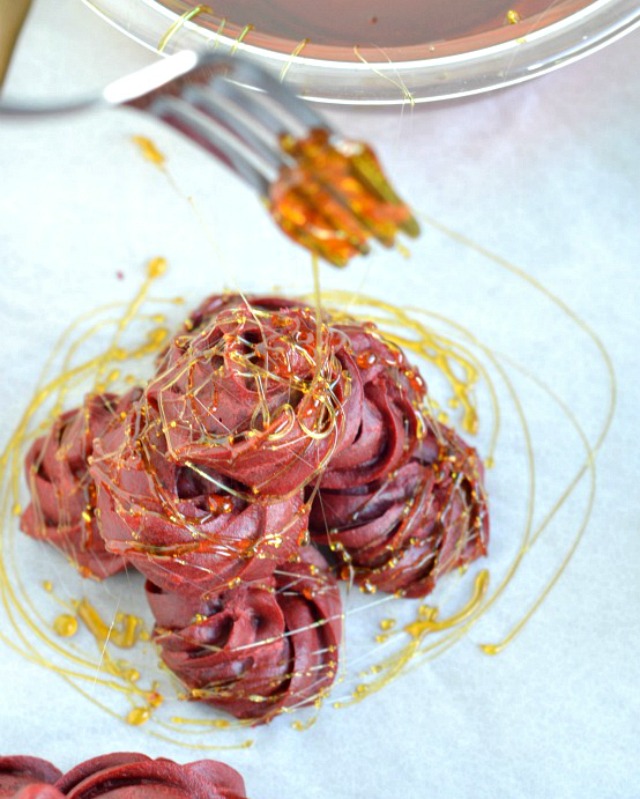
The drizzling was definitely my favorite part! I became entranced by it and almost couldn’t stop. I mean, just look at that golden shiny caramel. It glistens!
Tell me you don’t want to eat that. I dare you!
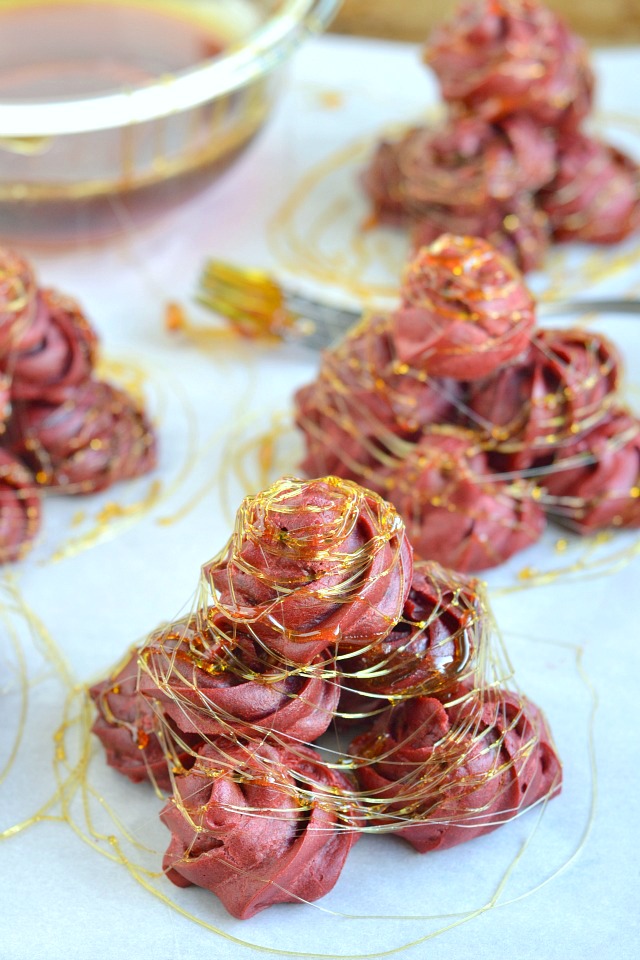
Red Velvet Croquembouche
Ingredients
Red Velvet Cream Puff (Pate a Choux Dough)
- 1 cup unsalted margarine (or butter)
- 1 tsp sugar
- 1 tsp red gel food coloring
- 1 tsp salt
- 2 cups water
- 2 1/2 cups all purpose flour
- 2 Tbsp unsweetened cocoa powder
- 8 eggs
Vanilla Pastry Cream
- 2 cups unsweetened almond milk
- 1/2 cup sugar
- 1/3 cup all purpose flour
- 1/2 tsp salt
- 4 egg yolks
- 4 Tbsp unsalted margarine (or butter)
- 1/2 tsp vanilla extract
Hard Crack Caramel
- 1 1/2 cups sugar
- 2/3 cup water
- 2 Tbsp corn syrup
Instructions
Red Velvet Cream Puff *makes 60-70 small cream puffs
- Preheat oven to 425 degrees F. and line two baking sheets with parchment paper.
- Bring margarine, sugar, gel food coloring, salt, and water to a boil in a medium saucepan.
- Using a wooden spoon, quickly stir in the flour and cocoa powder. Cook over medium heat, stirring constantly, until mixture pulls away from sides and a film forms on bottom of pan, about 2 minutes.
- Transfer immediately to the bowl of an electric mixer fitted with the paddle attachment and mix on low speed for 1 minute to release the steam in the batter.
- Raise speed to medium and add the whole eggs, one at a time, until the batter is thick and the eggs are completely incorporated.
- Fill a pastry bag fitted with a large piping tip with the pate a choux dough then pipe the dough into small circles on the parchment lined baking sheet. To smooth out the tops of the puffs, dip your finger in water and gently press down on the tops.
- Bake 10 minutes then reduce the heat to 350 degrees F. and bake until firm on the outside and dry on the inside, about 25-30 minutes. The puffs can be made 2-3 days ahead of time and refrigerated (unfilled) in an airtight container. You can also freeze the unfilled puffs in an airtight container for 1-2 months.
Vanilla Pastry Cream
- Line a baking sheet with plastic wrap and set a strainer over a bowl to place near the stove.
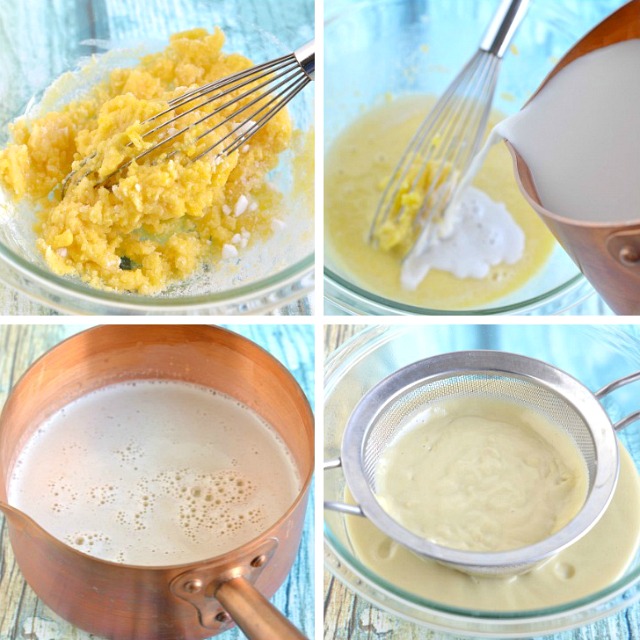
- Warm the almond milk in a small saucepan until it begins to steam but not come to a boil. Separately in a mixing bowl, whisk together the sugar, flour, and salt. Add the egg yolks and whisk them into the dry ingredients to form a thick paste.
- Temper the egg mixture by pouring a little of the hot milk into the egg mixture and whisk to combine. Continue pouring the milk slowly into the eggs, whisking continuously so the eggs don’t scramble.
- Pour the custard back into the saucepan over medium heat. Whisk constantly and the cream will begin to thicken after a few minutes. When the texture is like pudding and the surface of the cream begins to bubble, whisk for one more minute then remove the pan from the heat and pour into the strainer. Press the cream through the strainer into the bowl below then stir the margarine and vanilla extract into the cream until it is smooth and shiny.
- Pour the pastry cream onto the baking sheet lined with plastic wrap and cover the top with more plastic wrap pressed right up against the surface of the cream (this prevents the pastry cream from forming a skin). Chill completely in the refrigerator for about 1 hour.
Hard Crack Caramel and Croquembouche Assembly
- Assembly must be done as close to serving as possible because the hard caramel will begin to soften after a few hours.
- Remove the cream puffs and pastry cream from the refrigerator. Fill a small pastry bag with a small piping tip with the pastry cream and press it into the bottom of each cream puff to fill. Fill the cream puffs gently or the pastry cream will explode out of the tops. Set aside while you prepare the hard crack caramel.
- In a small saucepan, whisk together the sugar, water and corn syrup. Cover the pan and bring the mixture to a boil over medium-high heat without stirring. When it’s boiling, remove the cover and boil the caramel, swirling the pan occasionally, until the caramel is golden brown, about 15-20 minutes. Immediately remove the caramel from the stove so it doesn’t burn and set it aside for 5 minute to cool slightly.
- Line a few baking sheets with parchment paper to assemble the mini croquembouche.
- Dip the sides of the filled cream puffs in the caramel and stick them together in a circle on the parchment paper. The bottom layer should have 4-5 cream puffs. Make a second smaller row on top of the first with 2-3 cream to draw the circle in and create a tower of cream puffs. Top the last layer with 1 cream puff.
- When the mini tower is finished, drizzle it with caramel all over using a fork (not plastic, please!). The caramel will harden up immediately around the tower of cream puffs.
