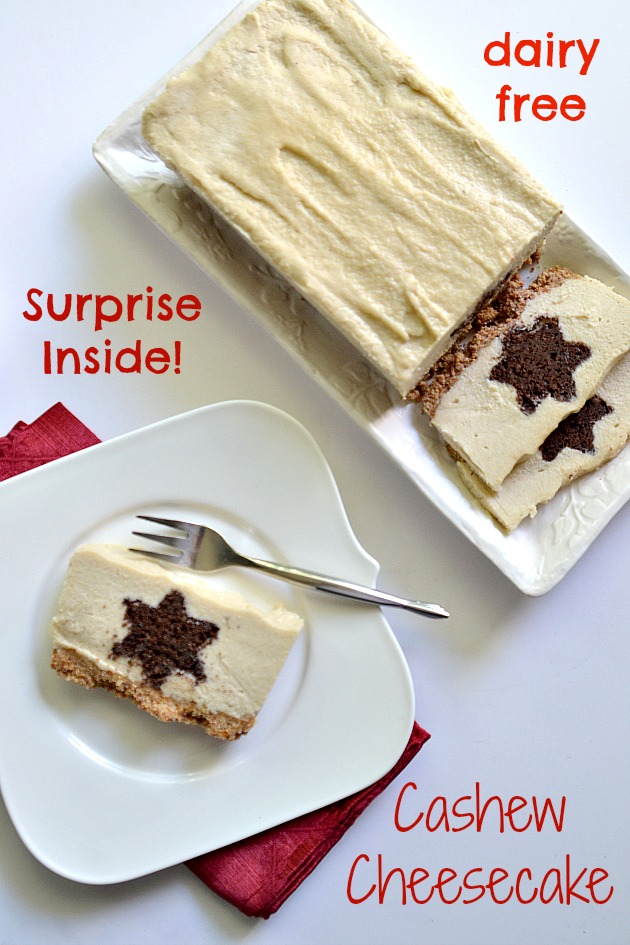
I’m inspired! Completely inspired! First it was I Am Baker, the author of the Surprise Inside Cakes cookbook and originator of so many incredible surprise cakes, that made me want to bake my very own surprise cake. But when I saw this Rainbow Tie Dye Surprise Cake on one of my favorite websites of all things rainbow, Tablespoon.com, I knew it was time to get in the kitchen and work some magic. Not only did I make my cake gluten free, grain free and dairy free, I also mixed my cake with raw cashew cheesecake to add a layer of serious decadence. Healthy cake? Yes please!
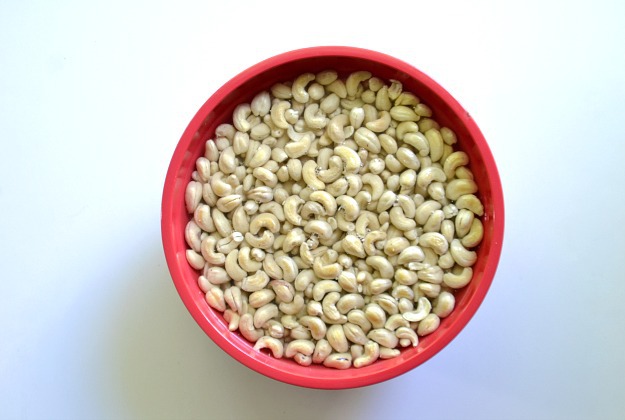
I soaked the raw cashews in water for 4 hours on the counter. I drained the cashews, washed them with fresh water then dried on paper towels. I made my soaked cashews a few days ahead of time so I put the dried cashews in an airtight container in the fridge, where they would stay fresh for 3-4 days. This is a great tip if you are planning to make cashew cheese but don’t know when you will be making it. Soak the cashews, refrigerate them and then you will have them ready whenever you are!
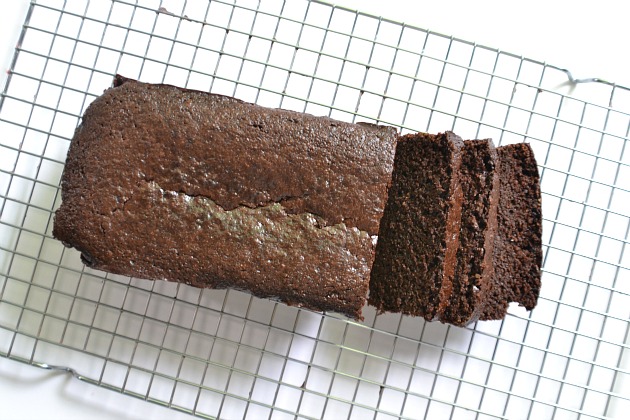
First come the cake, which is the surprise part of this cheesecake recipe. I made my favorite gluten free, grain free, dairy free chocolate cake recipe with just a few minor changes since I bake the cake in a loaf pan instead of a casserole dish. I refrigerated the cake so it wouldn’t fall apart as I sliced and cut stars out of it.
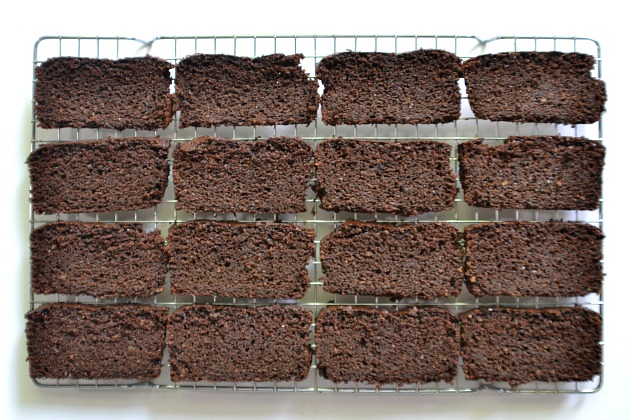
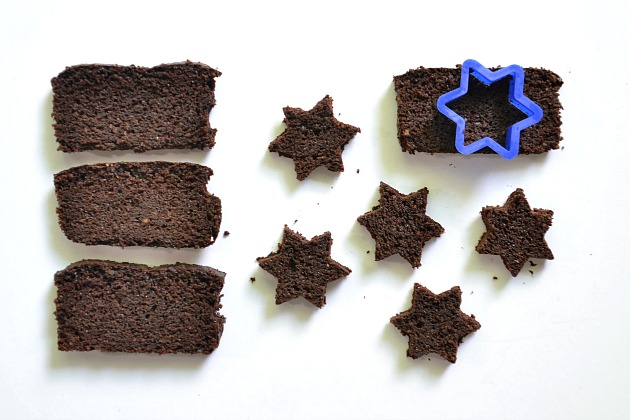
I thinly sliced the cake to the size of my star cookie cutter then cut out star shapes from the center of each slice. I stacked the stars and froze them uncovered until they were ready for the cheesecake.
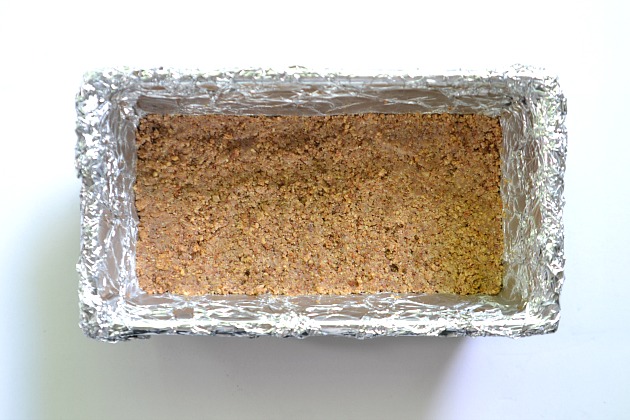
I made the crust using these amazing gluten and grain free Ginger Cookies from The Detoxinista. I baked the cookies until they were extra crunchy, let them cool then crushed them and stirred in melted coconut oil. I pressed the cookies crust into the bottom of a foil lined and greased loaf pan.
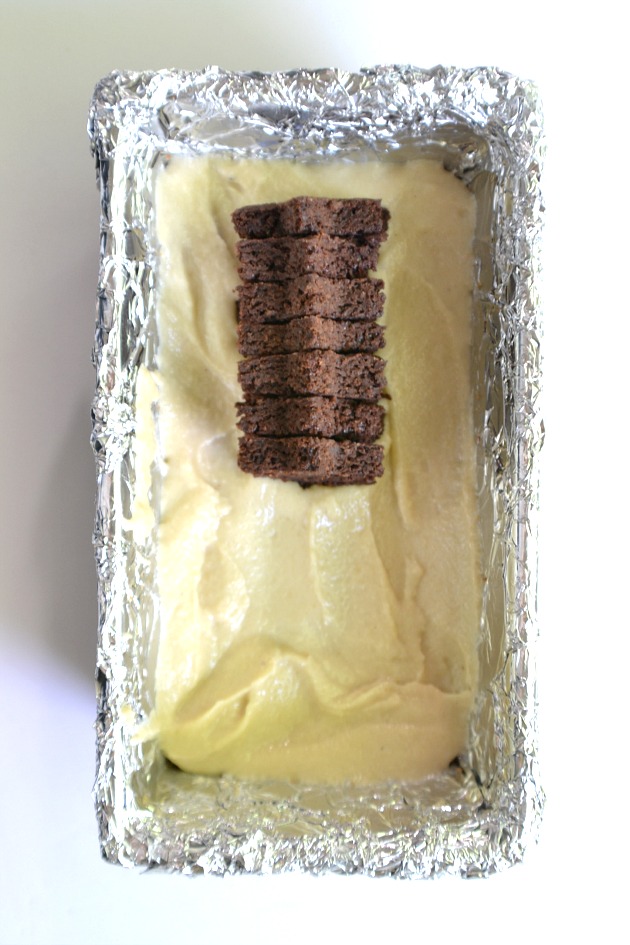
Now here comes the fun part! I blended all of the cashew cheesecake ingredients together in my Vitamix until smooth and creamy. I poured the batter into a large piping bag then piped around 1 cup into the bottom of the pan, covering the crust. I set the frozen chocolate stars, standing up, down the middle of the pan.
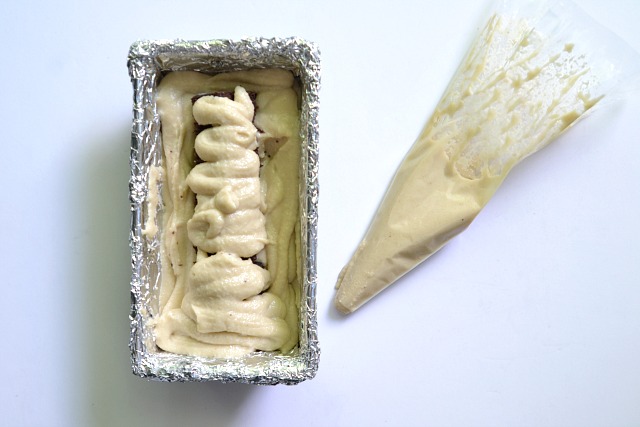
I piped the remaining cheesecake batter around the stars and on top until all of the cake was covered. I smoothed the top of the cheesecake then covered it with wax paper then covered tightly with foil. I froze the cheesecake for at least 2 hours to set before slicing.
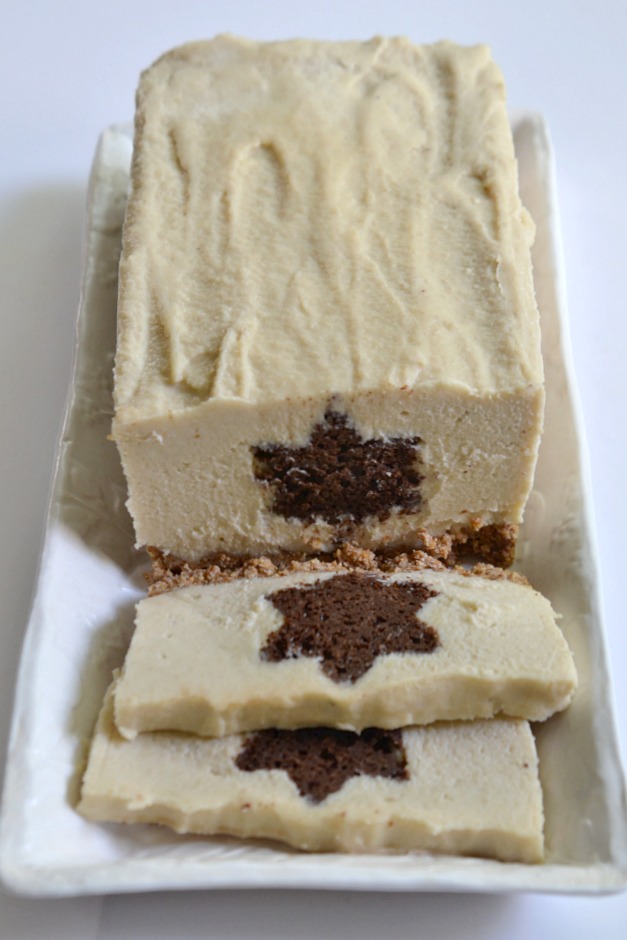
I removed the cheesecake from the freezer and carefully sliced it with a sharp knife. Check out those beautiful stars! You can freeze the cheesecake for up to 1 month and when you are ready to eat it, just defrost in the fridge for 30 minutes then slice.
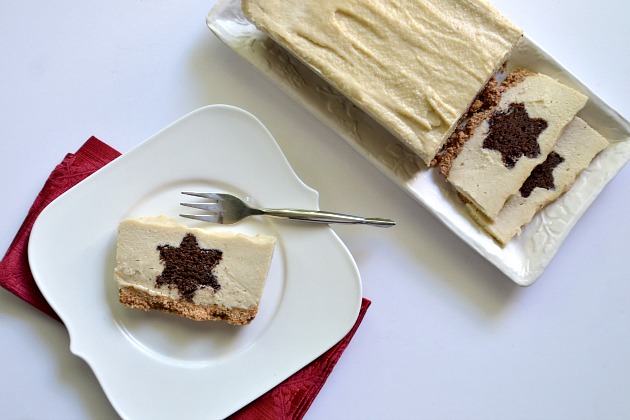
SURPRISE!
kitchen-tested.com
Ingredients
Instructions

 Save Recipe
