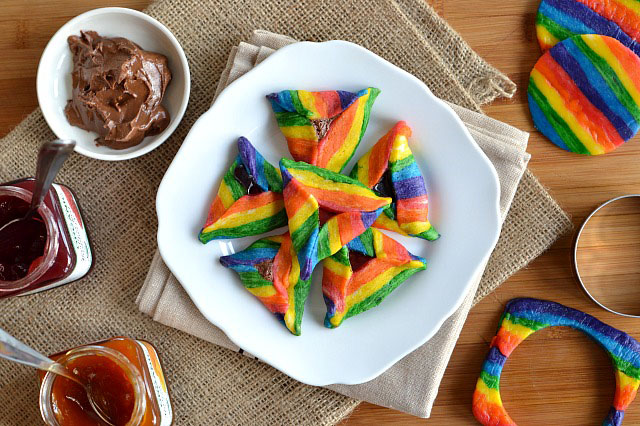
Here they are!!! Finally here!!! You know that feeling you get when you’ve have an idea in your head and when you finally execute it, it actually works?!? Yeah, that’s how I feel right now. When my sister and I first started talking about rainbow hamantaschen one year ago, I thought that there had to be a recipe already out there on some amazing blog that I drool over but when I started searching, I found nothing. Nothing! That got me very excited because I knew I had something great…so now I just had to get it done and do it right. I had seen a recipe for multicolored Pinata Cookies that looked so beautiful and that gave me the idea for how I wanted to create the rainbow layers for my hamantaschen. The layers don’t have to be perfect and you can use any colors you want so there’s really no way to ruin these. Gotta love that freedom. The best part is that these rainbow hamantaschen worked on the first try and not one opened while baking. You should see my Girl Scout Samoa Hamantaschen from a few years ago! The entire first batch opened up. But not this time!
So now, without any further ado, here are my show stopping rainbow hamantaschen and the step-by-step pictures of the process! Please note that this recipe is very time consuming but I think it’s totally worth it for these fantastic results. Don’t forget to send me your pictures when you make these hamantaschen. Have fun and Happy Purim!
In a stand mixer, I beat together the margarine and sugar then added the whipping cream and vanilla extract. You can use coconut oil in place of the margarine and it’a s 1:1 ratio. Just note that your hamantaschen will taste like coconut because of the oil. Once everything was combined, I slowly added the flour until the mixture was combined.
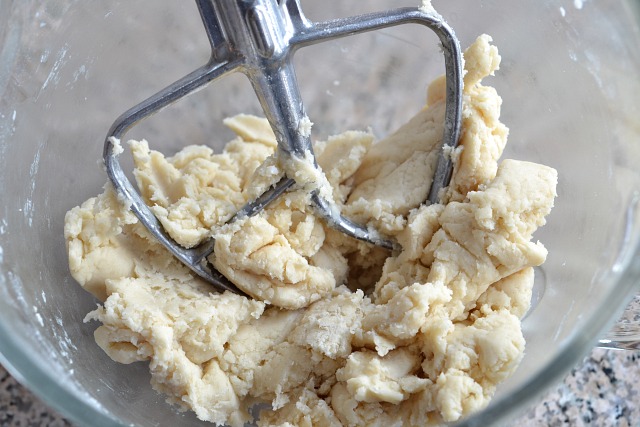
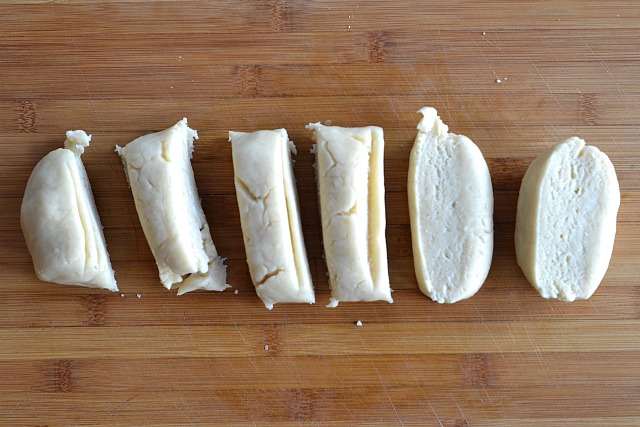
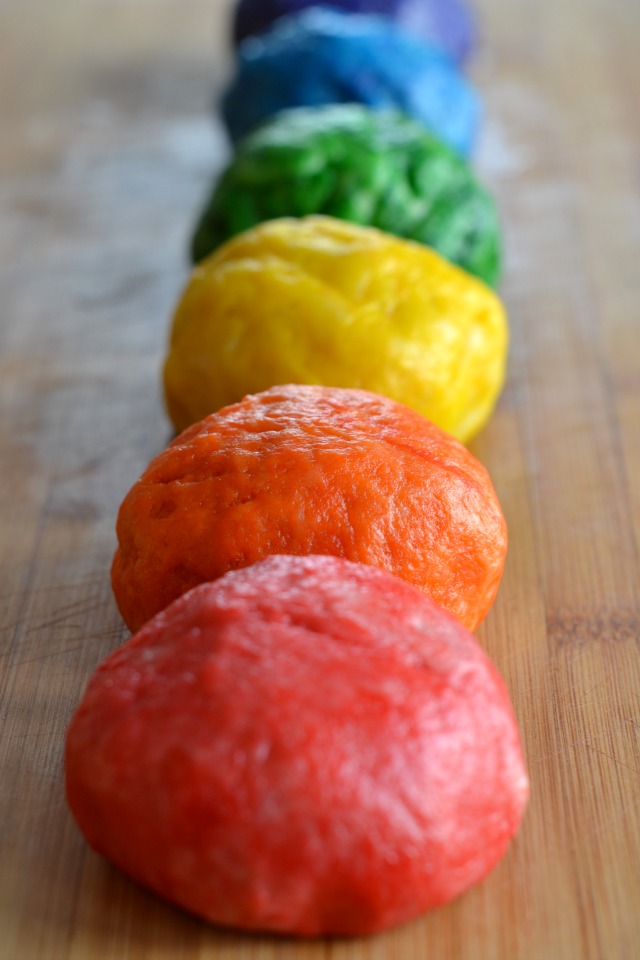
I divided the dough in to 6 equally sized pieces. It’s okay if they are a little bit off since you will be layering them later anyways.
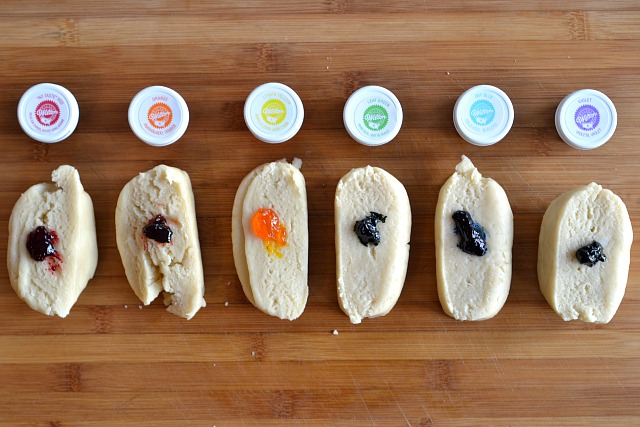
I dolloped an 1/2 teaspoon of gel food coloring on to each piece of dough. At this point, you can choose to do all six colors of the rainbow or you can have fun with just a few colors or even an ombre effect with one color. The skies the limit!
Wearing gloves, I kneaded each piece of dough to work the color in. This was definitely the most tedious part but totally worth it! But you definitely want to wear those gloves otherwise you will have rainbow hands to go along with your rainbow hamantaschen. If you have trouble mixing the dye in to the dough, you can use your stand mixer but make sure to wipe it clean between each color so they don’t all blend together.
Next came the fun part! The layering. I lined a 9″x4″ loaf pan with a large piece of plastic wrap that hung over the edges then split each piece of dough in half. Starting with one of the red balls, I flattened out the piece of dough to the size of the pan with my hands and placed it on the bottom.
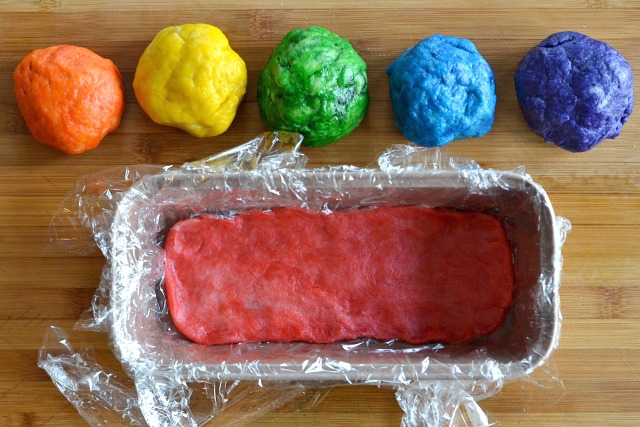
I did the same thing for each remaining color then began with the red again so I had two layers of rainbow dough (I sliced the dough in half so you could see the layers). I pressed down on the dough to make sure the layers were all touching.
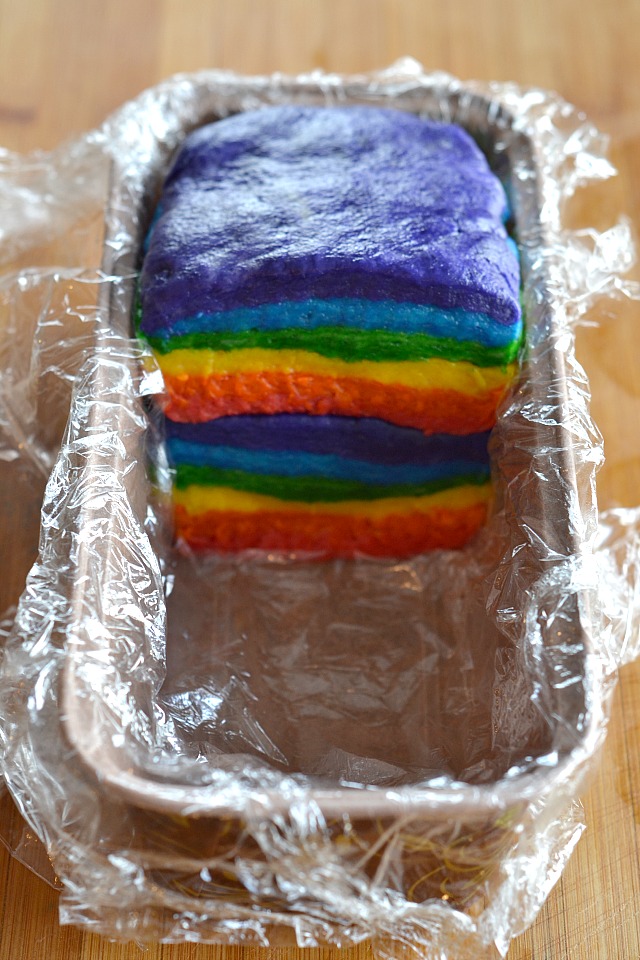
I wrapped the dough in the plastic wrap and froze it for at least 1 hour. You can make this dough ahead of time and freeze for up to 3 months. When I was ready to make the hamantaschen, I preheated the oven to 375 degrees F. and lined two baking sheets with parchment paper. I removed the dough from the freezer and set it on the counter to warm up slightly for 5 minutes. With a sharp knife, I sliced the rainbow dough into 1/8 inch thick slices. The slices don’t have to be perfect but you definitely don’t want them to be too thick since each slice will become a hamantaschen.
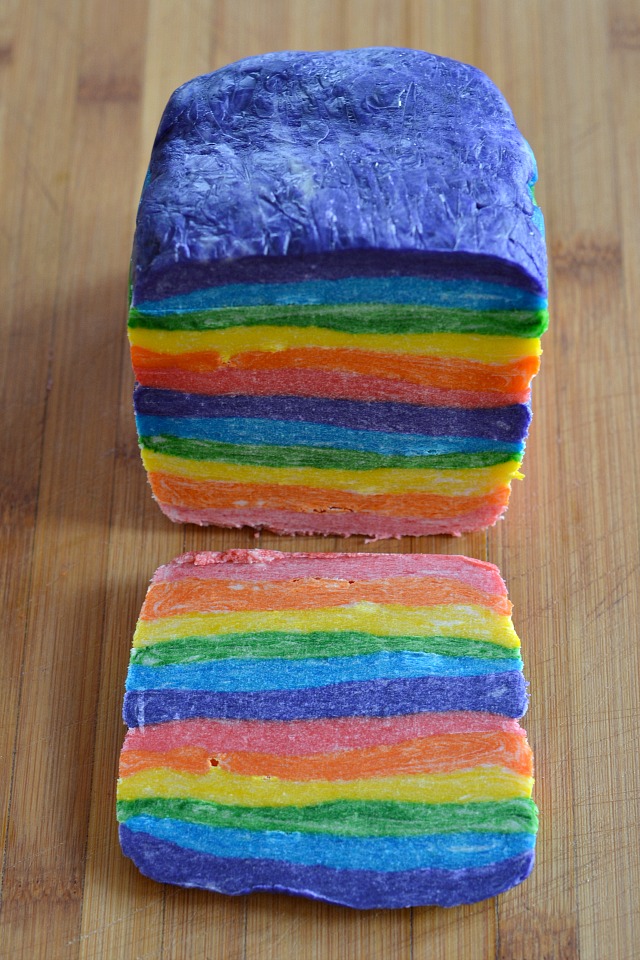
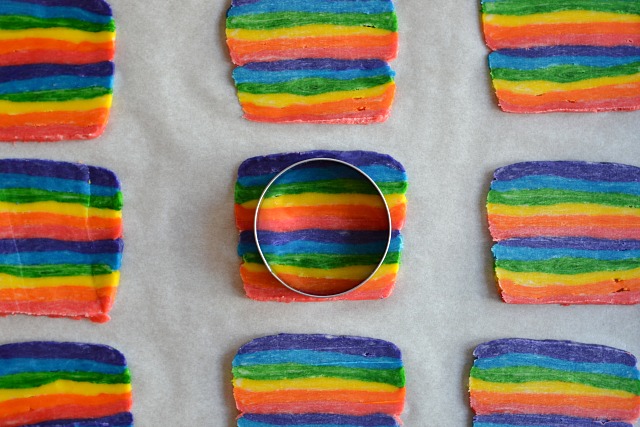
I placed the rectangles of rainbow dough on the parchment lined baking sheets. I cut each rectangle with a circle cookie cutter and removed the excess scraps. Keep those scraps to create tie dyed hamantaschen. If your colors separate a bit, just press down on the dough with your hands to bring the dough together.
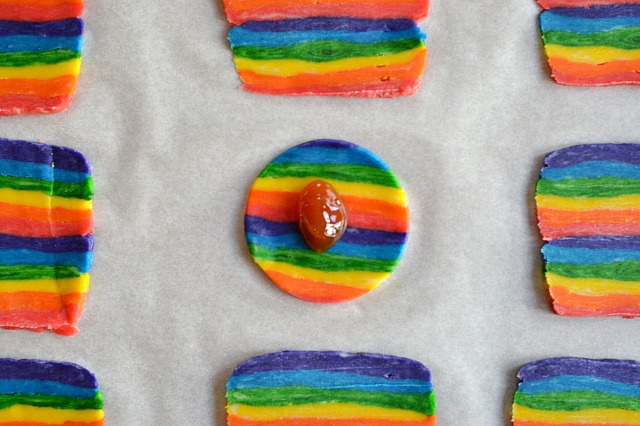
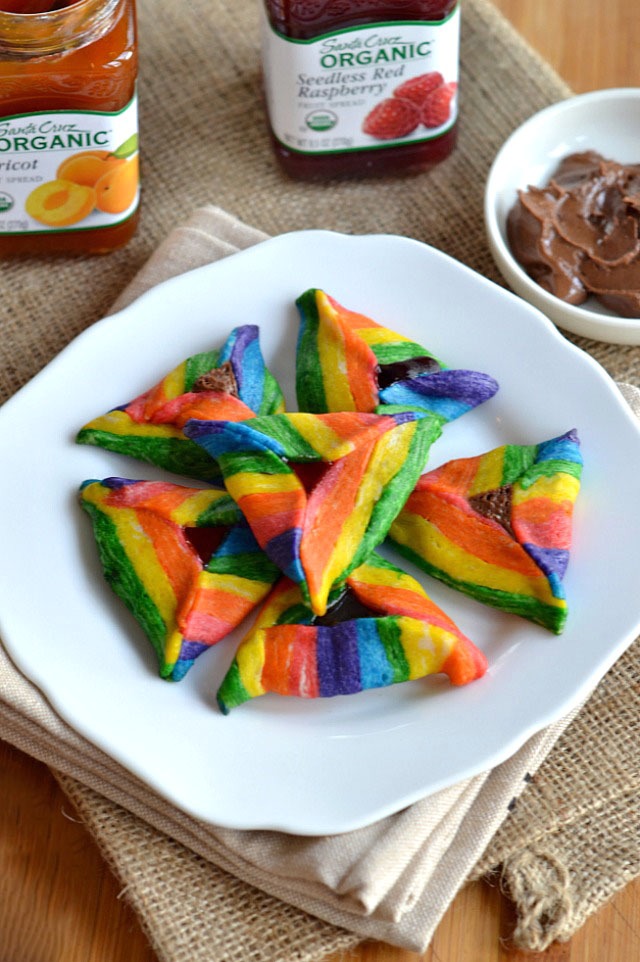
I filled the center of each rainbow circle with around one teaspoon of filling. I chose apricot and raspberry preserves as well as chocolate hazelnut butter but you can choose whatever fillings you want. You might be tempted to overfill your hamantaschen because you think it will taste better but don’t do it! Those hamantaschen will just open while they bake.
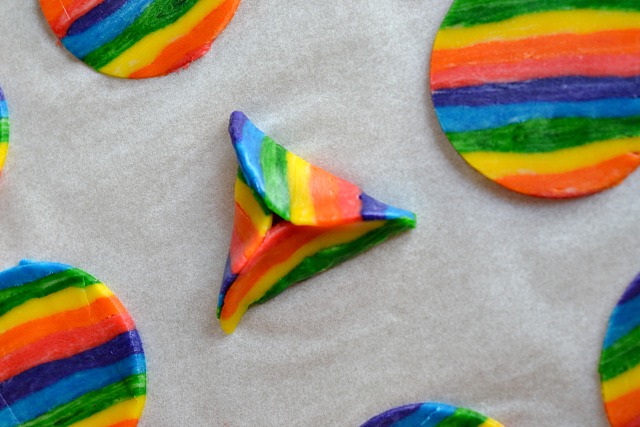
I brushed the edges of the circles with the whisked egg then pinched together the edges to create a triangle. If your layers don’t stick together perfectly, you can just pinch them together with your fingers.
I baked each sheet of hamantaschen for 10-12 minutes, until lightly golden brown on the bottom. I transferred the hamantaschen to a wire rack to cool completely. And there you have it! Beautiful rainbow hamantaschen that look like art.
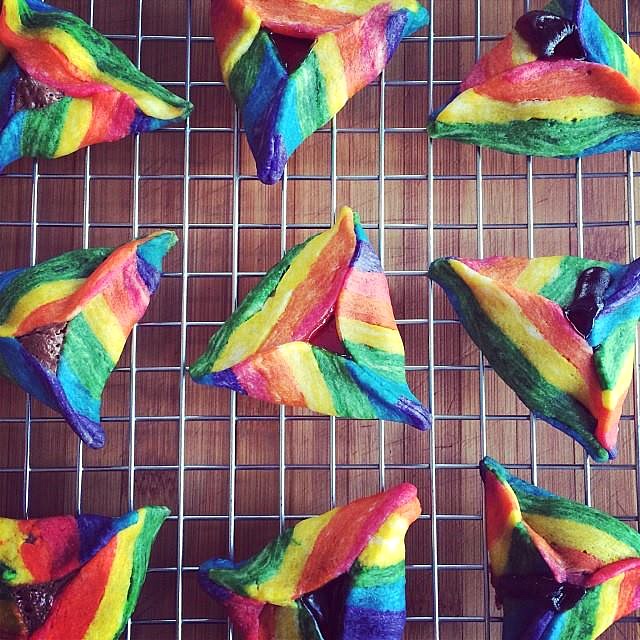
Seriously, don’t they look like I painted the color right on them?!?!?
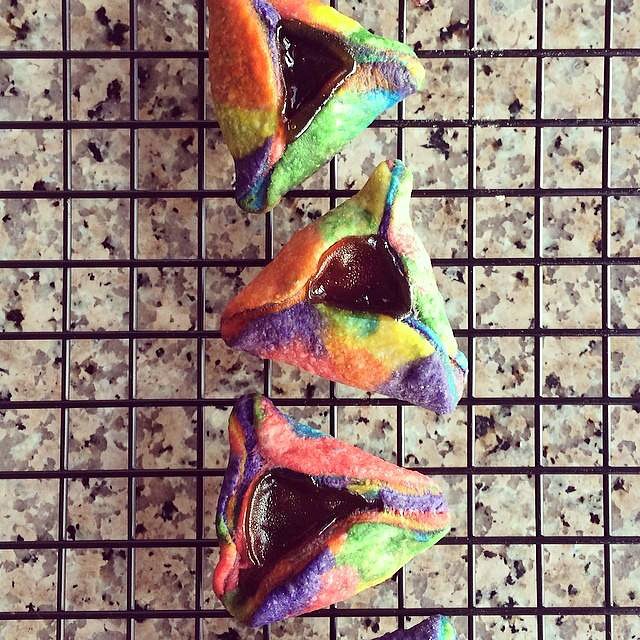
I mentioned the rainbow dough scraps right? Don’t throw those away! Roll those precious scraps into a ball, roll out on your flour-dusted counter with a rolling pin to 1/4 inch thick and make tie dyed hamantaschen!
kitchen-tested.com
Yields 4 dozen
Ingredients
Instructions

 Save Recipe
