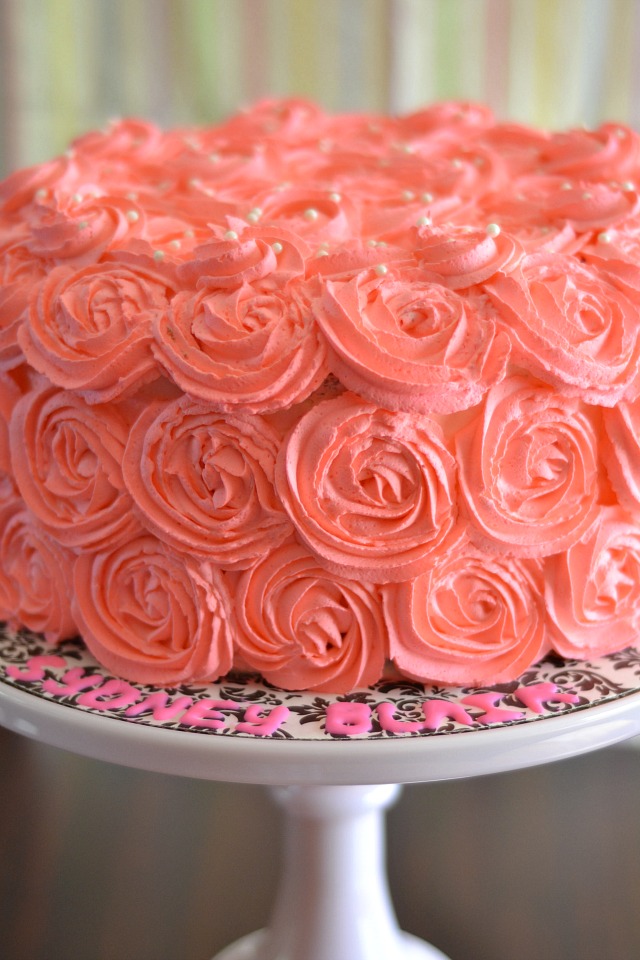
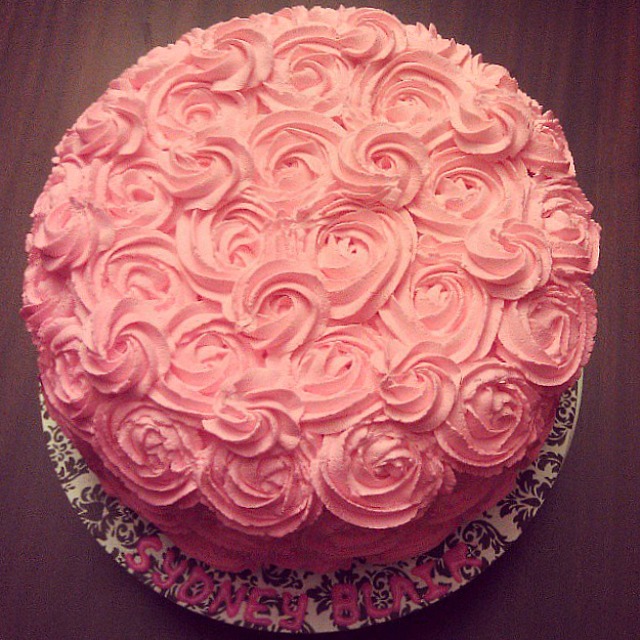
I’ve been selling tons of cakes lately and it has been so much fun! It all started when I made my Rainbow Layer Birthday Cake a few years ago and people in my neighborhood started asking me to make it for their kids birthday parties as well. Since my non-dairy vanilla cake recipe can be dyed practically any color(s) you can think of, I started getting requests for pink cakes, purple cakes, sports cakes and ombre cakes! Oh my! And the more cakes I make, the better I get at decorating too. I used to just smooth the buttercream all over the cake for a more rustic look but with each cake, and lots of YouTube “how-to” videos, I’ve been playing with different frosting tips and designs. For this particular cake, the client, Melissa, asked me for a three-layer pink ombre cake with whipped cream rose design and strawberry whipped cream filling. This cake was HUGE! It all started with the pink batter…thank goodness for Instagram because I didn’t take any professional pictures of the cake building process!
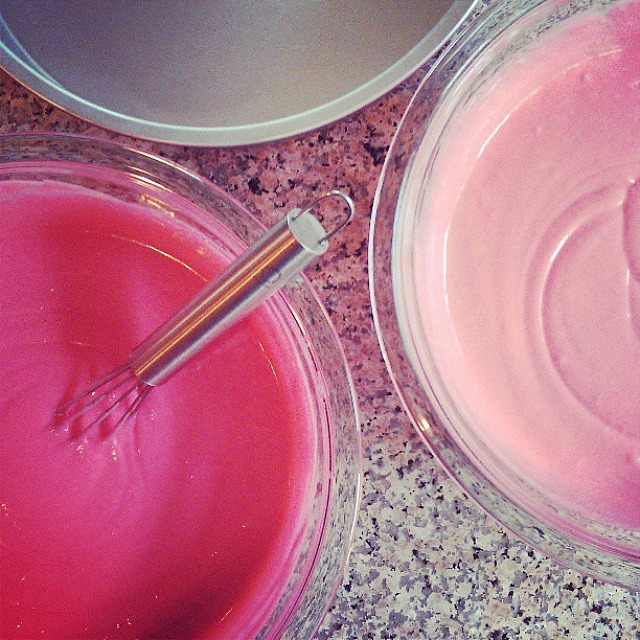
Since Melissa wanted a large cake, I used 10 inch round cake pans and doubled my vanilla cake recipe. Like I said, this cake was big. I used a measuring cup to transfer the cake batter into three bowls to make sure all of the layers were even then mixed in the pink gel food coloring. Once baked, I let the cakes cool completely then used a long serrated knife to slice off the rounded tops (cakes don’t usually bake evenly) to even them out and began stacking.
A few tips that I use when filling and decorating a cake with buttercream or whipped cream:
1. For a 10 inch cake, I used a 12 inch cake plate. I always give my cakes a little extra space for the frosting. If you are making a fondant cake, your cake plate should be the same size as your cake. Once the cake is covered in fondant, you can place it on a larger cake plate to decorate.
2. I place parchment paper around the bottom of the cake so when I frost, the frosting doesn’t get all over the cake plate. Once the cake is decorated, I carefully sliced the parchment paper out for a neat finish.
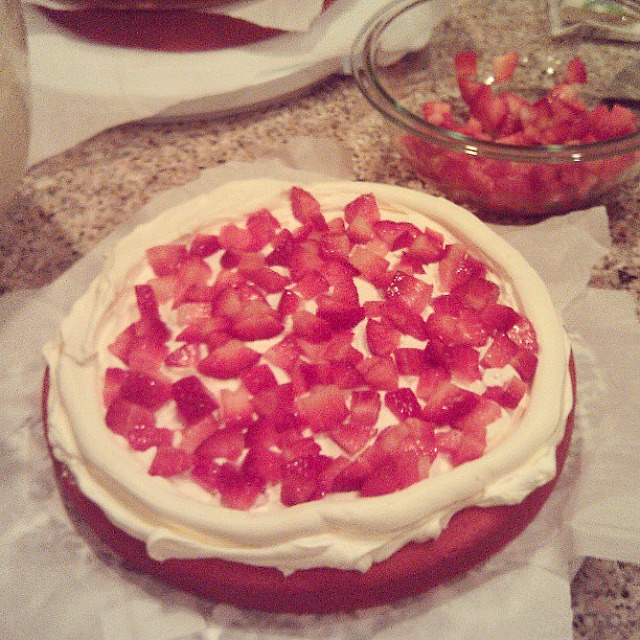
3. I learned this next tip from Cake Boss on TLC: when using a filling in between the layers with your frosting, pipe out the edge of the frosting higher so that the filling can’t spill out. You can see how I did it with the strawberries below.
I didn’t take any pictures of the rose piping process since I didn’t realize that I was going to post this cake so here’s the link to the video that I watched over and over again from iambaker.net to make sure I would do it right! There are tons of videos on the internet to teach you how to make roses with frosting but I really enjoyed this video. That’s a major tip for you: watch videos online if you want to learn a new decorating technique. Works for me…most of the time. I’ll be honest that I had to frost this cake twice. I just didn’t like how the roses looked the first time around. No shame in scraping off all of that frosting and trying again.
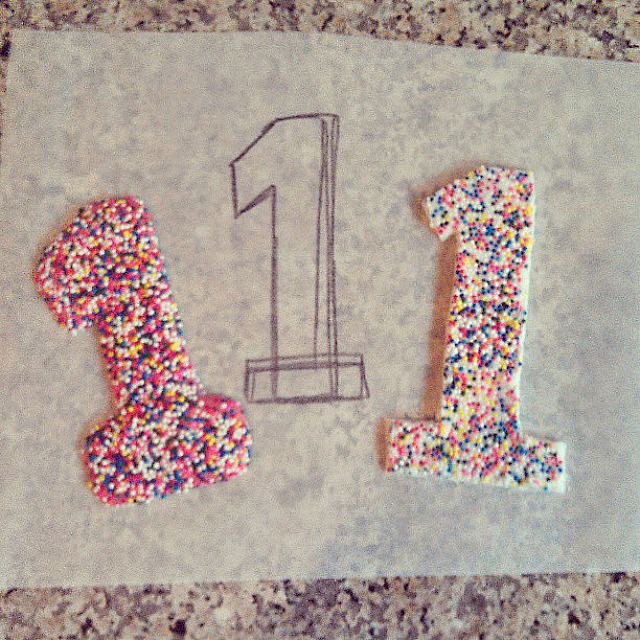
Since this was such a large cake, I thought it would be fun to make a topper instead of using a tiny candle. Thanks to Kojo Designs for this great idea to make a topper out of chocolate. I wrote the number on parchment paper then covered it with another piece of parchment paper. I melted the chocolate, poured it into a plastic sandwich bag, cut off a tiny corner and piped out the number following the shape I drew out. My first one (to the right) didn’t look so great because the white chocolate was too thin but the one on the left turned out exactly how I wanted it!
*Thanks to Melissa’s sister for taking the pictures below of the cake during the party. I make these cakes then I hand them off to my clients without getting to cut into them. Always fun to see how they look when they are cut open!
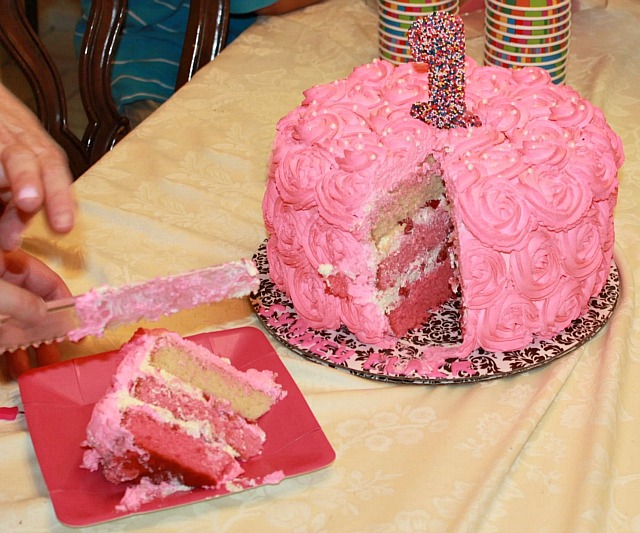
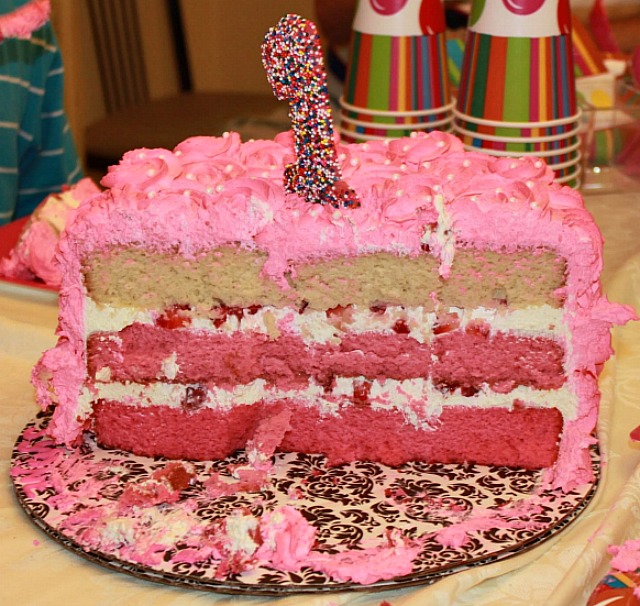
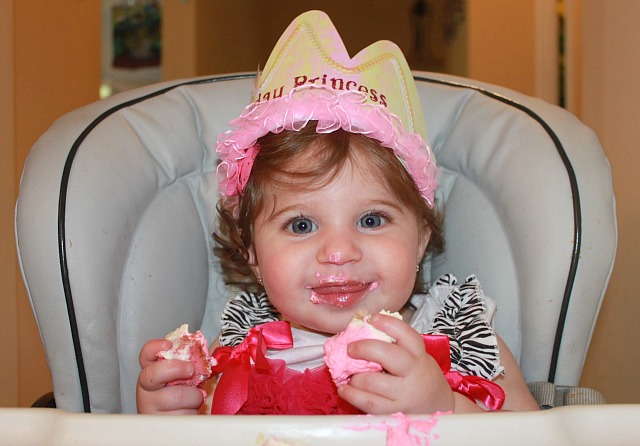
And here’s the birthday girl, Sydney Blair, devouring her cake. Happy Birthday Sydney!!!
