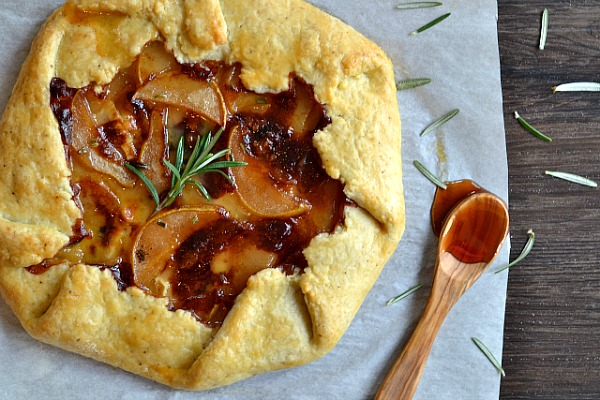
Okay, I need to preface with the fact that I have never in my life tasted brie cheese before! Is that nuts? It’s just never been on my radar but lately, I’ve been seeing brie everywhere. I figured it was time to give it a shot so instead of just buying a wheel of brie and tasting it, I built a recipe around it. From my research, It seems that people love eating brie with fruit, like this grown up grilled cheese with brie and raspberries from TeamZ Blog, so I went in that direction and chose pears as my complimentary fruit. I just love how pears taste when they are roasted with sweet syrups so when my friend, Chanie from Busy in Brooklyn, suggested Silan date syrup, I was all over it! With some lemon juice and chopped rosemary to balance the sweetness of the dates, the pears were good enough to devour on their own.
When it was time to fill the vanilla speckled galette dough, I finally tasted brie for the first time. Well, what can I say about brie?!? Let’s just say that I’m not a fan. I hate to say it but I just don’t like the taste of brie. But that didn’t stop me from filling the galette with slices of the soft brie and topping it with the delicious roasted pears. I was hoping the brie would change it’s flavor after being cooked with sweet fruit and I was definitely right! The juices from the Silan date syrup and sweet pears helped balance the stong flavor of the brie cheese and the crunchy and flakey galette dough brought the whole digh together. If you don’t like brie, I think this dish might change your mind. But if you are seriously set on not using brie, you can try mixing together mascarpone cheese with an egg and spreading that on the galette dough instead. It’s time to get brave in the kitchen!
Roasted Pear and Brie Galette
Galette Dough
1 1/4 cups flour
1/2 tsp salt
1 Tbsp vanilla sugar
4 Tbsp butter
4 Tbsp vegetable shortening
3-4 Tbsp ice water
Fillings
4 ounces brie cheese, sliced
roasted pears *recipe below
1 egg, whisked
Roasted Pears
1 Bartlet pear, sliced
1/4 cup Silan date syrup (can also use maple syrup)
2 Tbsp butter
1 Tbsp lemon juice
1 Tbsp water
1/2 tsp chopped fresh rosemary
1/2 vanilla bean pod, sliced
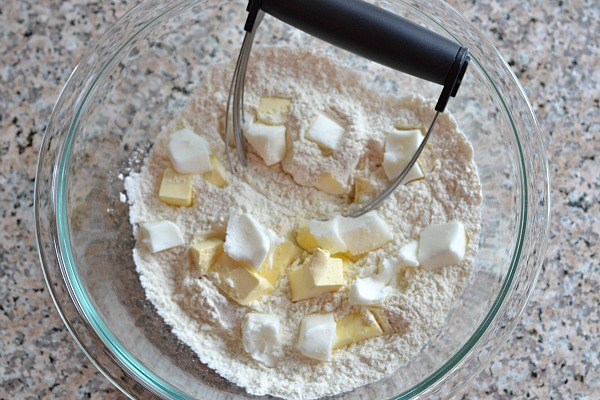
I prepared the dough first to give it some time in the fridge. In a bowl, I combined the flour, butter and vegetable shortening with a pastry cutter (you can also use a fork) and mixed until it resembled coarse sand.
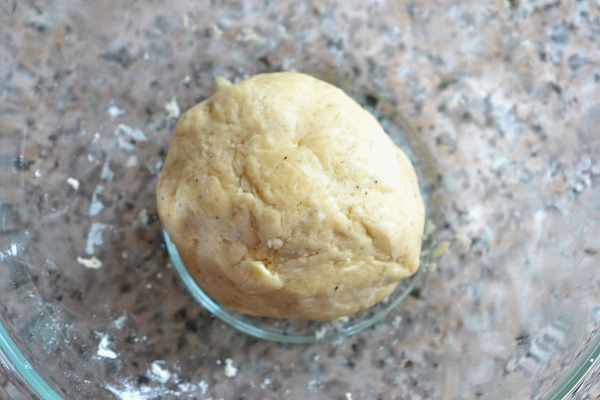
1 tablespoon at a time, I added the ice water and stirred with my hands. When the dough came together into a ball, I stopped adding water. I wrapped the dough in plastic wrap and refrigerated it for at least 30 minutes. You can leave the dough in the fridge for up to three days or even freeze it for a later use.
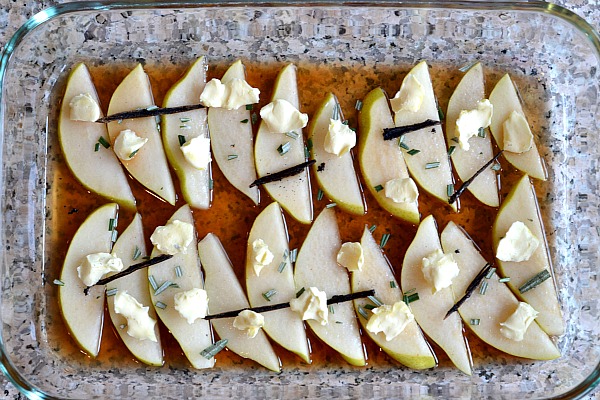
In the meantime, I made the roasted pears. I thinly sliced the pear with the peel on and placed the slices in a casserole dish. I topped the pear slices with the lemon juice, Silan date syrup, vanilla bean and rosemary. I dolloped some butter on the pears then added the water to the dish. I roasted the pears in the oven at 375 degrees for 30 minutes, until soft and beginning to brown.
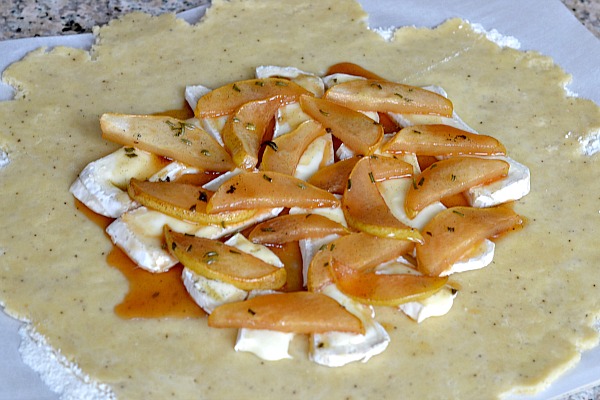
When the pears were roasted, I set them aside to cool slightly. I lightly floured my rolling pin and a piece of parchment paper and and rolled out the dough to a 1/4 inch thick circle. The circle doesn’t have to be perfect because this is a rustic tart. I placed the brie slices in the center of the dough, leaving room around the edges, then topped with the roasted pears and the sauce and juices from the pears.
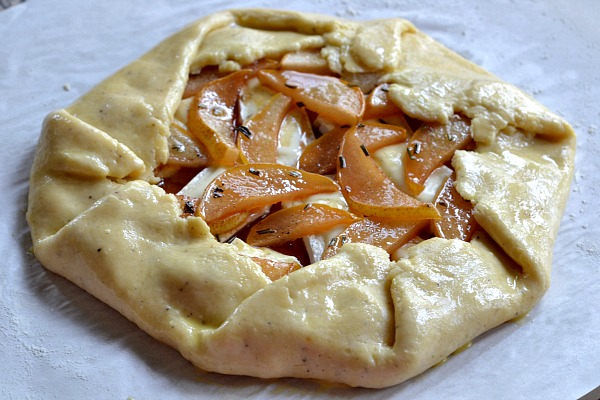
I folded the edges of the dough inwards and over part of the filling and  brushed the dough with egg. There is no right or wrong way to fold the dough. In fact, every time I make a galette, it looks a little different. Check out my caramel apple galette and crunchy fig galette.
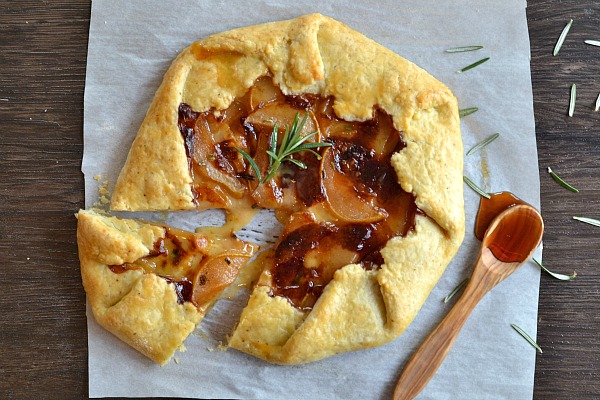
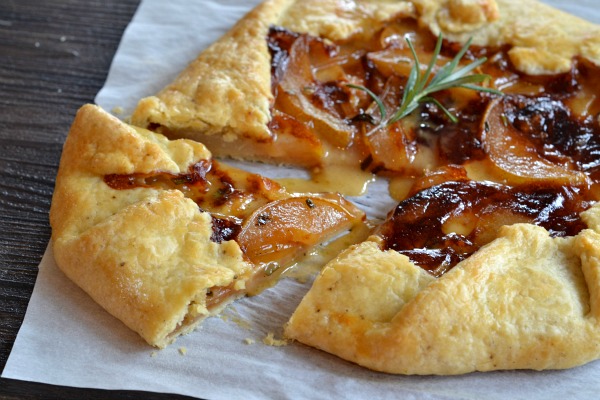
I moved the galette on the parchment paper to a cookie sheet and baked in the oven at 350 degrees F for 40-45 minutes, until the crust was brown and crunchy and the brie cheese was melted and fluffy. I let the galette sit for 30 minutes before slicing to give the cheese some time to set. I topped with fresh rosemary for garnish.
Kitchen-Tested.com
Ingredients
Instructions

 Save Recipe
