Exactly one year ago, I published Kitchen Tested as a way to share my adventurous and sometimes-crazy recipes with the world. Before January 25, 2011, I was posting pictures of my kitchen escapades in an album called “My ‘Test Kitchen’ Projects” on Facebook and I was getting tons of requests for my recipes. My friend, Nissania (shout out to Niss for being such a good friend), called me up one day and said “Why don’t you turn your Test Kitchen album into a blog?” I initially wondered who would even read my blog and would I be able to keep it up, but the idea of a cooking blog was so intriguing that I had to give it a chance. My first post, The Diner Thanksgiving Sandwich, was so much fun to write that I just kept on going! One after another, the recipes were developed, the picture were taken and my personal kitchen stories were told. So before we get to the celebratory recipe, I just wanted to share my favorite posts from the past year! It was really hard to choose but I think I narrowed it down…
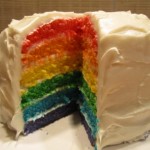 Â Â Rainbow Layer Birthday Cake
  Rainbow Layer Birthday Cake
  Apricot-Plum Baked Doughnuts
  Cinnamon-Lavender Brown Butter Challah
  Savtah’s Famous Beef Tongue
  Ghost Chili Dogs
 So here we are, one year later, with another exciting (and possibly insane) recipe that I hope you’ll try in your own test kitchen. Because isn’t that what Kitchen Tested is all about?!? I share my crazy and unique recipes in hopes that my readers will step out of the box in their own way to try something new and different. So go forth and try this recipe! I don’t mind. And if you want to give Kitchen Tested a birthday present (I do LOVE presents), please share my blog with your friends and ask them to like me on Facebook.
 Chicken and Red Velvet Waffle Ingredients
SPICY FRIED CHICKEN
1 whole chicken, cut in to pieces
1 quart non-dairy buttermilk (1 quart soymilk + 4 Tbsp lemon juice)
2 Tbsp hot sauce (I used Frank’s Red Hot Original)
1 tsp cayenne pepper for buttermilk (+ 1 Tbsp for flour mixture)
3 cups all-purpose flour
2 tsp garlic powder
1 tsp paprika
salt and pepper to taste
1-3 cups canola or vegetable oil for frying
RED VELVET WAFFLES
makes 8-10 waffles, adapted from delish.comÂ
2 cups all-purpose flour
1 1/4 cups sugar
1/4 tsp salt
1 tsp baking soda
4 Tbsp unsweetened cocoa
1/4 cup margarine, melted and cooled
2 cups non-dairy buttermilk (2 cups soy milk + 2 Tbsp lemon juice)
2 eggs 1 tsp vanilla extract
2 Tbsp red food coloring
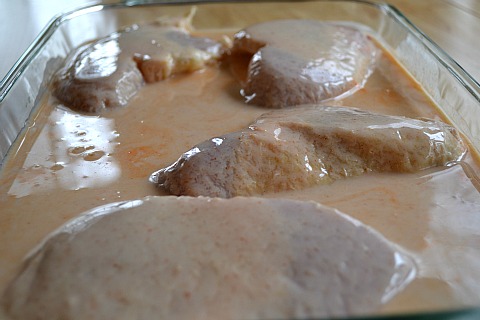
I created the buttermilk by adding the lemon juice to the soy milk, gave it a quick stir and set it aside for a few minutes. That’s all it takes for homemade non-dairy buttermilk. I added 1 tsp of cayenne pepper and the hot sauce to the buttermilk then poured the mixture over the chicken in a deep-sided baking dish. After making sure each piece of chicken was coated on all sides, I covered the dish with plastic wrap and refrigerated for at least 2 hours. Since I made this dish on a Sunday, I got the chicken ready then went out for a couple of hours with my husband and kids. By the time we got back, the chicken was ready to go.
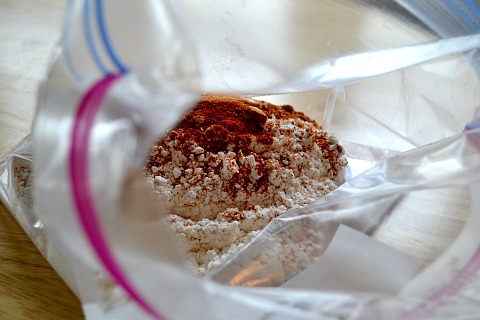
I placed the flour, remaining cayenne pepper, garlic powder, paprika, salt and pepper in a plastic bag and shook to combine. I set this mixture aside.
Before cooking the chicken, I wanted to have waffle batter ready so everything would be finished cooking at the same time. If you are just making the fried chicken from this recipe, just scroll down a bit. If you are making this entire recipe (and I really hope that you are because it is insanely awesome), just keep reading!
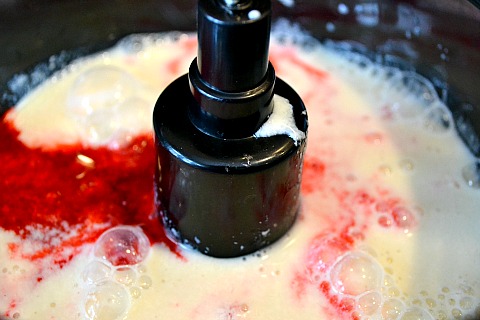
To make the waffle batter, I mixed together the flour, sugar, salt, baking soda, and cocoa. In my trusty food processor, I added the margarine, homemade non-dairy buttermilk, eggs, vanilla extract and red food coloring. I pulsed to blend.
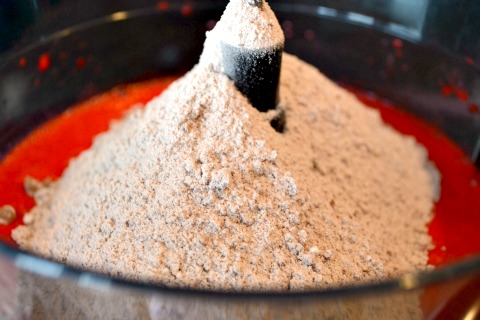
I added half of the flour mixture to the beautiful red liquid, pulsed to blend, then added the remaining flour mixture. Stunning red! I set the batter aside for a bit, keeping it in the food processor so I could give it one last pulse before making the waffles.
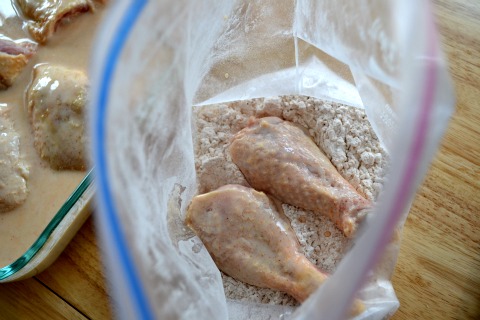
Now back to the chicken…in a cast iron skillet (you can also use a regular skillet but a heavy bottom is preferred), I heated up the oil to 350 degrees. I used my candy thermometer so I could keep an eye on the oil and not burn it. Now I have to buy a new candy thermometer since the only one I had left has now been used with my meat equipment. Oh well. Totally worth it. While the oil was heating up, I took the chicken out of the fridge, removed the pieces from the buttermilk mixture and shook off any excess liquid. I placed a few pieces of chicken at a time in to the plastic bag containing the seasoned flour mixture and shook to coat each piece.
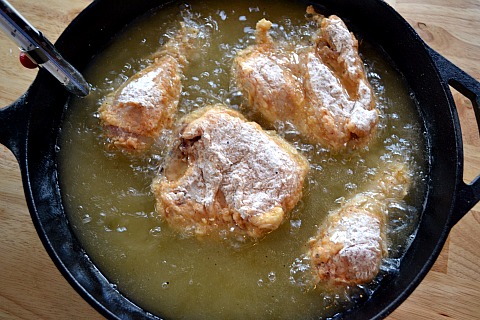
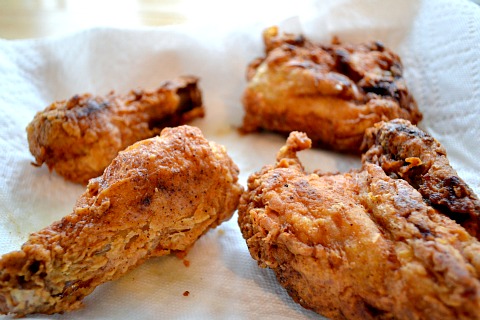
I carefully placed the chicken pieces in the hot oil, thighs in the center and breasts and legs around the edge of the pan. The oil bubbles up so just be careful! I left the chicken for 10 minutes, checking the thermometer to keep an even temperature because it initially lowered when I put the chicken in, then flipped the pieces over to cook for another 10 minutes. Be careful to monitor the temperature of the oil because at one point, I walked away and the temp went up over 350 and I burnt some of the chicken. Oops! Wouldn’t want to make that mistake again.
I drained the fried chicken on paper towels to soak up some of the excess oil. You can also drain the chicken on a rack over a sheet pan. While the chicken cooled enough to handle and scarf down (remember that fried chicken will be super hot on the inside right when it comes out of the oil and you don’t want to burn yourself or let those delicious juices out), I made the waffles!
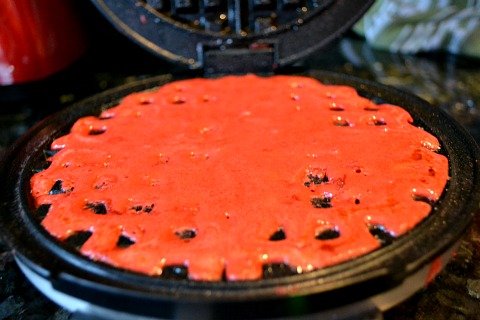
I preheated my amazing new Cuisinart Round Classic Waffle Maker and sprayed with tons of cooking spray. When the waffle maker was ready, I carefully spooned 1/3 cup of the batter all around to make sure it was even, closed the top and let the waffle cook (my appliance cooks one waffle at a time).
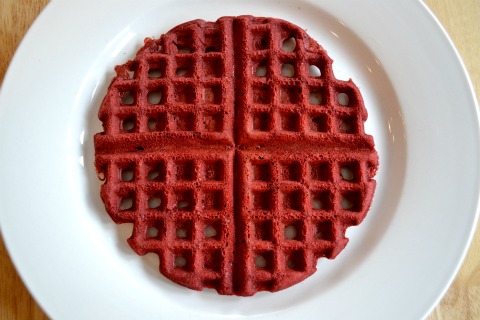
I cooked the waffle for 5 minutes even though my waffle maker said it was ready before then. I removed the waffle and it became crisper as it sat. I made just a few more waffles then assembled one of the best meals I have ever made! If you don’t want to make all of the waffles at once, the batter will last in the fridge for a couple of days. So you can have red velvet waffles for breakfast for the next few days. Hooray!
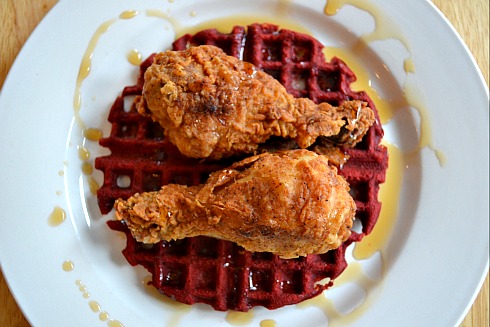
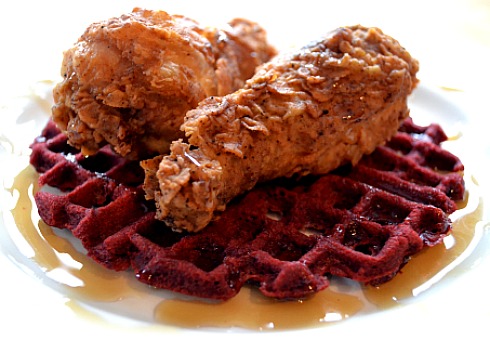
I placed some of the hot and juicy spicy fried chicken on top of a crunchy red velvet waffle then poured some rich pure maple syrup right over the top. Drooling! I know it seems like the two things don’t go together but they are a match made in heaven. We’ve all heard of chicken and waffles before (at least I assume you’ve all heard of this traditional Southern dish) but the mix of super spicy hot chicken and sweet and decadent waffles takes it to another level. Salty and sweet are meant to be together and every bite is better than the one before. I definitely celebrated Kitchen Tested’s first birthday in style!

