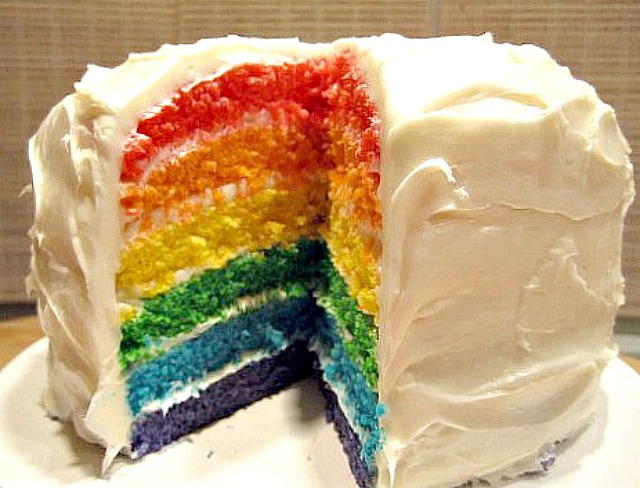
Happy birthday to me!!! Yes, I made my own birthday cake. I am now 28 years old and making my own cake. I could have asked my husband to make it for me, but I’m not sure that would have worked out too well. And my pastry chef sister lives across the country in Seattle, so that option was out. So I guess I figured I could just make it myself. In fact, two months ago, my friend (Gina Masri…thanks!) sent me a link to this Martha Stewart recipe and right then and there, I knew that I wanted to make it for my own birthday. I’ve been counting down to this moment and here it is! I get to have a fun birthday with presents and family (gotta love my priorities) AND I get to make a crazy rainbow cake. Does life get any better?!?
*for the frosting, you can make homemade buttercream or use 3 containers of pre-made vanilla frosting, such as Duncan Hines.
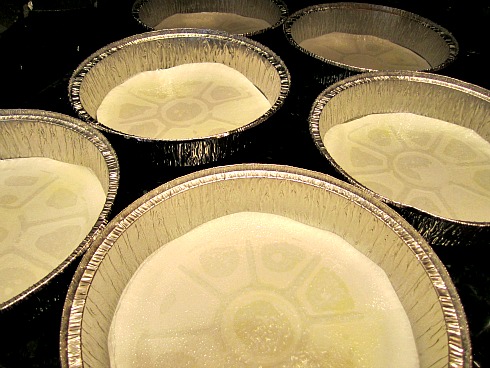
I preheated the two ovens in my kitchen to 350 degrees. If you only have one oven, just heat that one up. I prepared six 9-inch-round foil pans with vegetable spray, then lined the bottom of each with parchment paper and sprayed again.
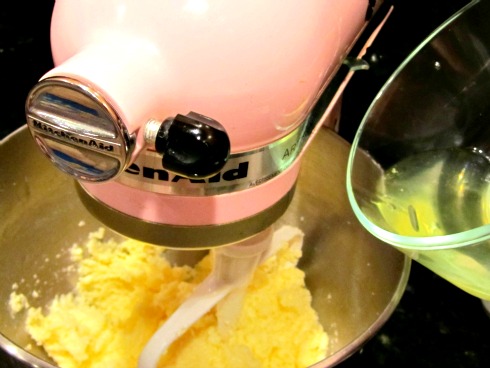
In a large bowl, I whisked together the flour, baking powder and salt. In an electric mixer, I creamed together the margarine and sugar. Slowly, I added the egg whites and mixed until well combined.
I added the vanilla and mixed until fully incorporated. Next, I mixed in the flour mixture and soy milk in two alternating additions, beginning with the flour and ending with the milk.
Now came the really fun part! I divided the batter evenly between six medium bowls. Each bowl contained around 1 cup of batter. I used Wilton Icing Colors to dye the cakes. You can use any brand of gel food coloring, but I think the Wilton concentrated gels give a vibrant color without thinning the batter.
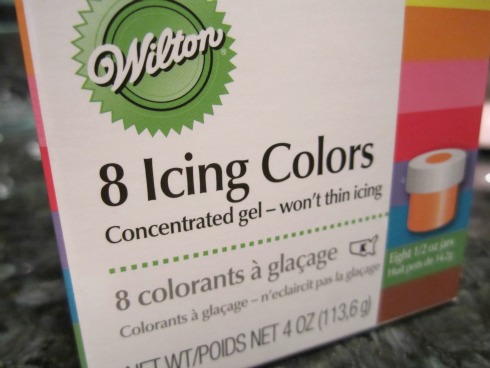
I wore gloves while I dyed the batter so I wouldn’t get any color on my hands. I suggest you do the same, unless you want multi-colored fingers! I added 1/8 tsp. of each color to its designated bowl and whisked away. I added a bit more for the red batter, since I didn’t think the color was bright enough. Between each bowl, I washed the whisk so the colors wouldn’t combine.
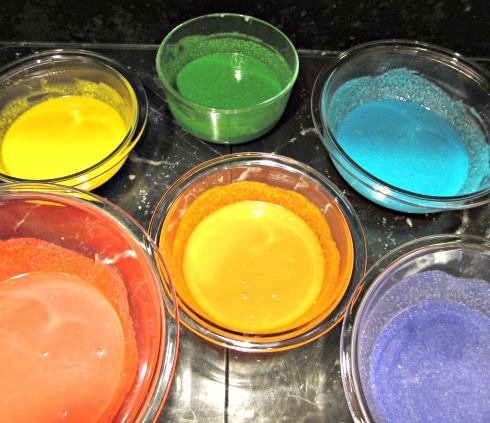
I transferred each color to the prepared cake pans then moved those pans in to the ovens. If you don’t have room in your oven for all six pans, you can bake them in batches. The cakes baked for only 15 minutes, so if you need to work in batches, it won’t take too long.
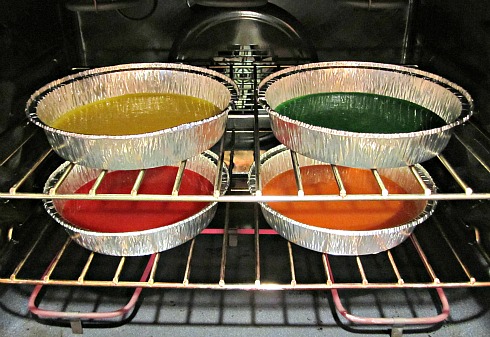
I removed the cakes from the oven and transferred them to a wire rack. After cooling for 10 minute s, I inverted the cakes onto a wire rack; re-inverted and let cool completely.
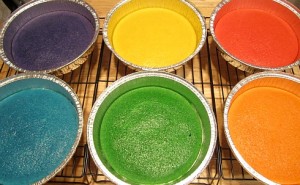
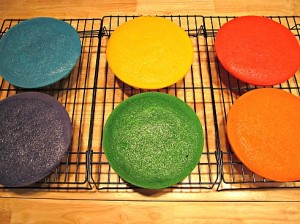
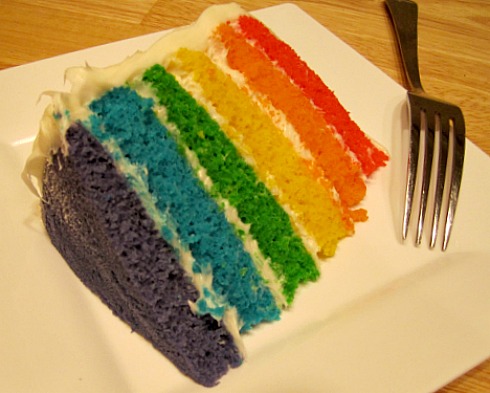
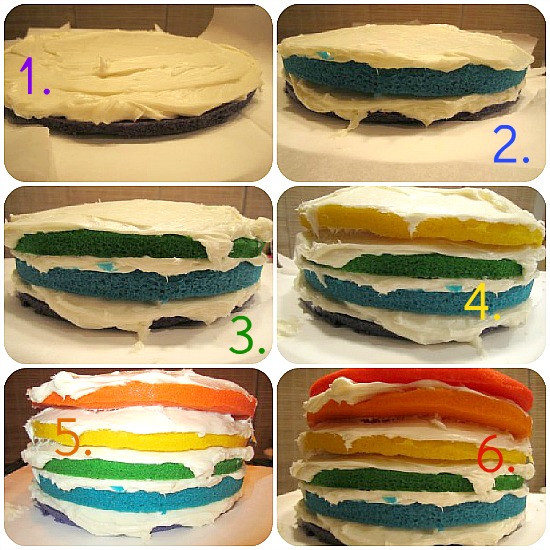
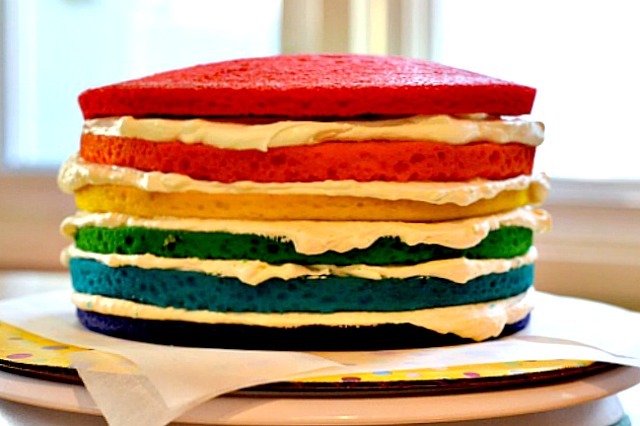
If your cakes aren’t even, I suggest using a serrated knife to trim the tops. Then you get to snack on the extra cake (or make multicolored cake pops). I placed four strips of parchment paper around the perimeter of a 10 inch cake circle, then placed the purple layer in the center. I spread 1 cup of frosting over the first layer with a spatula so it extended just beyond the edges of the cake. I repeated the process with the blue, green, yellow and orange layers. I placed the remaining red layer on top, bottom-side up.
I love how this cake looks even before the frosting goes on the cake!
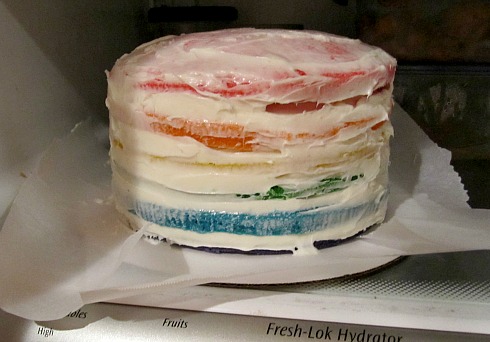
I swept away any loose crumbs then covered the top and side with a thin layer of frosting with a spatula, also using any of the excess frosting visible between the layers. I refrigerated the cake for 30 minutes, until it set.
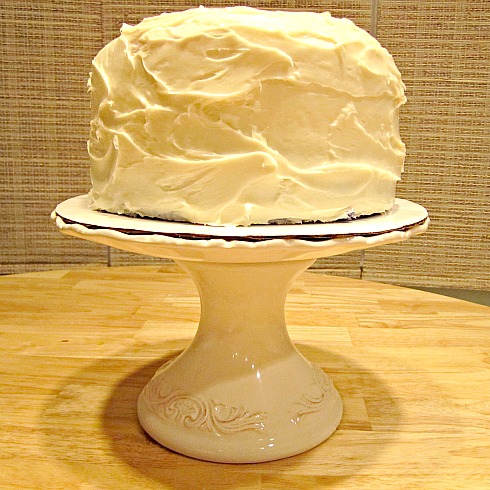
After 30 minutes, I took the cake out of the fridge and covered it again with the remaining frosting. All done! Happy birthday to ME!
Kitchen Tested
Ingredients
Instructions

 Save Recipe